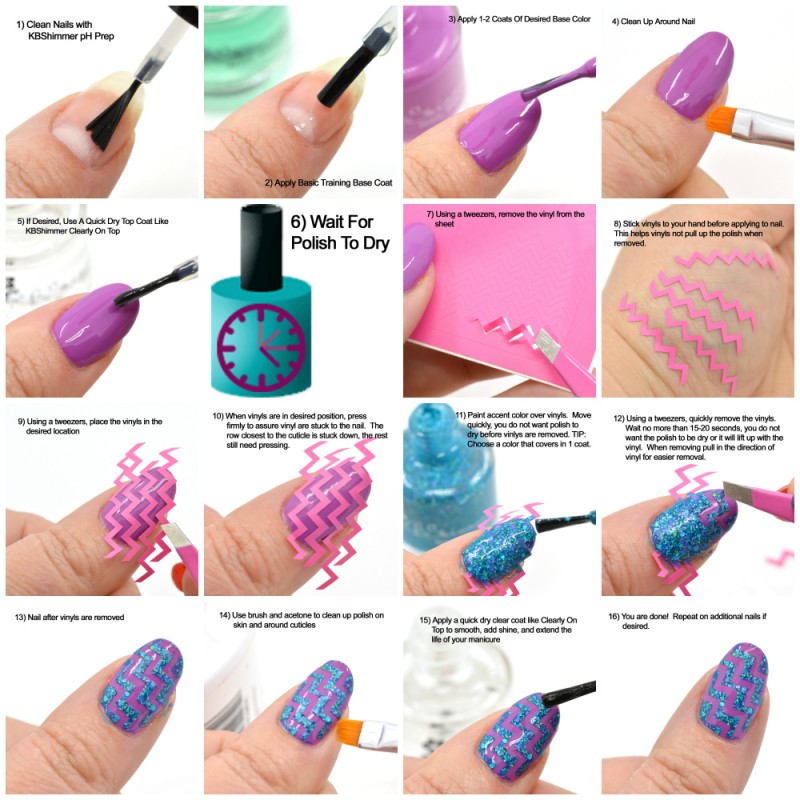
It seems like just yesterday I was in Florida on vacation wanting to spend too much money on bath goodies. Little did my husband know that the encouragement to make instead of buy would lead to the birth of KBShimmer and take us to where we are today.
I thought it would be fun to take a trip down memory lane, to show you just where we started and how far we have come in the 10 years since KBShimmer was born.
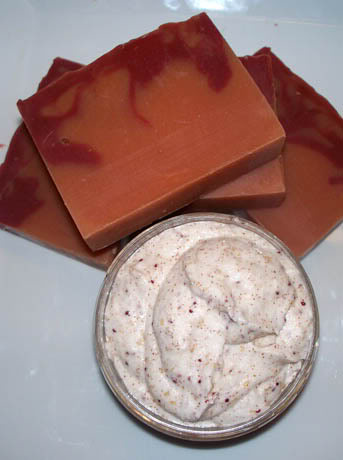
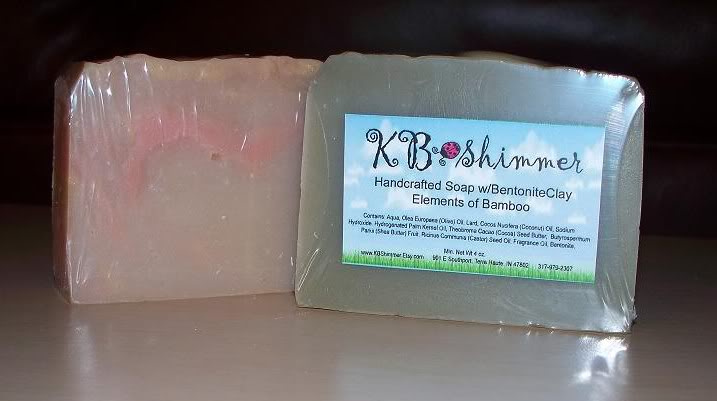
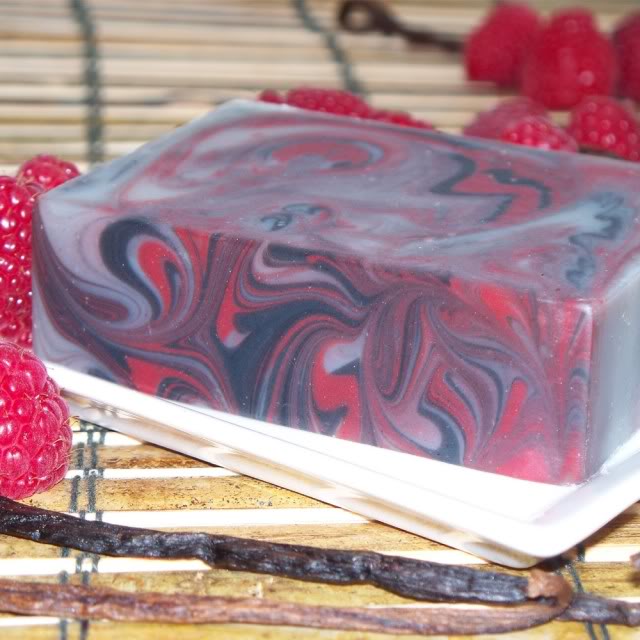
KBShimmer started with soap and bath bombs. I spent hours working on batch after batch, making sure that our formula was just right. I played with colors, with scents, different looks, until I was happy with how they felt in the shower. It was glorious.
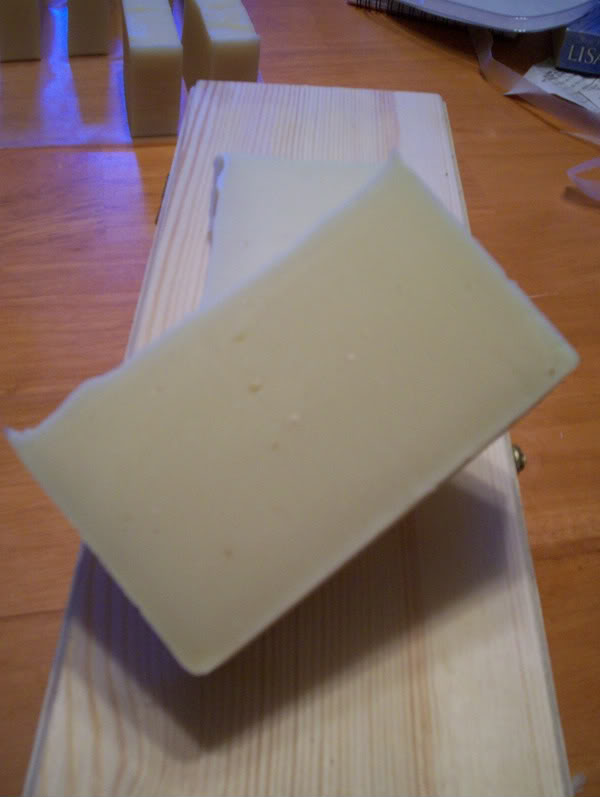

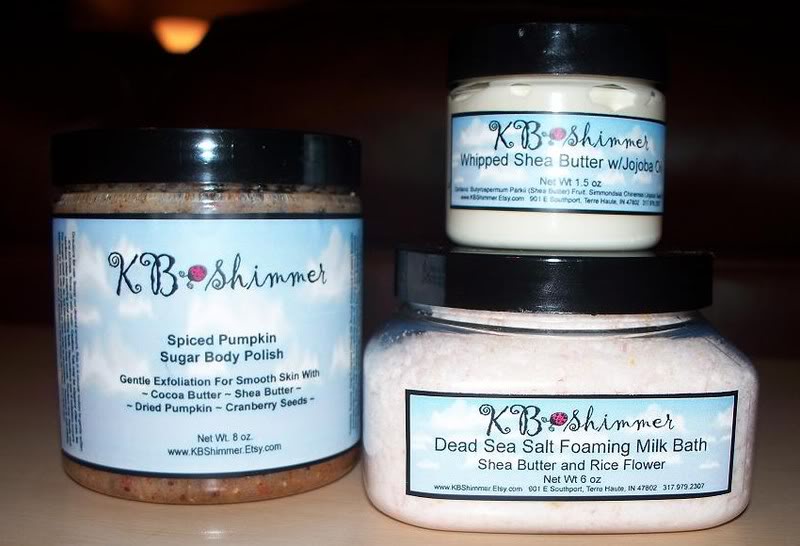
Until we ran out of space! Soon I was kicked out of the kitchen and into the basement, where my husband Jason set up a workshop for me. It was tiny, but it was my own space and I had a whole rack I could fill with soap and other products. Man I was thrilled, and I started to play with scrubs to match my soaps.
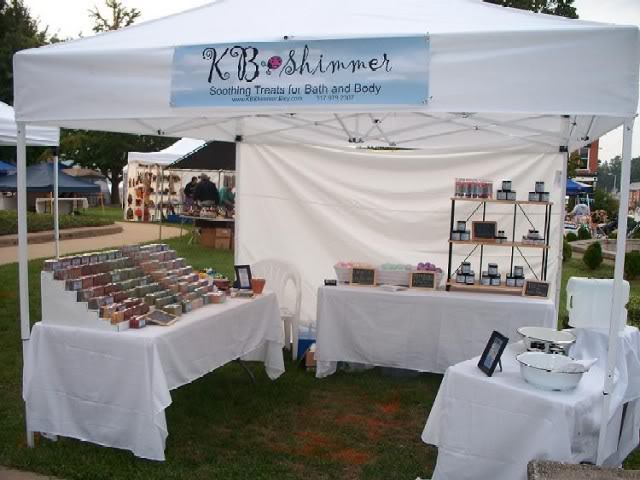
Soon the shelves where overflowing. So I decided to take my wares to the local craft shows. We needed a name, and what could be more perfect then using my daughters nick name, Katy Bug as inspiration. We settled on KBShimmer, but before we sold to the public, we needed a logo. I turned on my computer, downloaded a funky font and created what I thought was the most beautiful logo and label ever.
![]() But wait, it gets better. I thought there is only one way to improve a lady bug logo!
But wait, it gets better. I thought there is only one way to improve a lady bug logo!
 Let’s give it grass and sky! I worked so long making sure that the clouds were perfectly behind my logo and product, but soon I decided to ditch the grass.
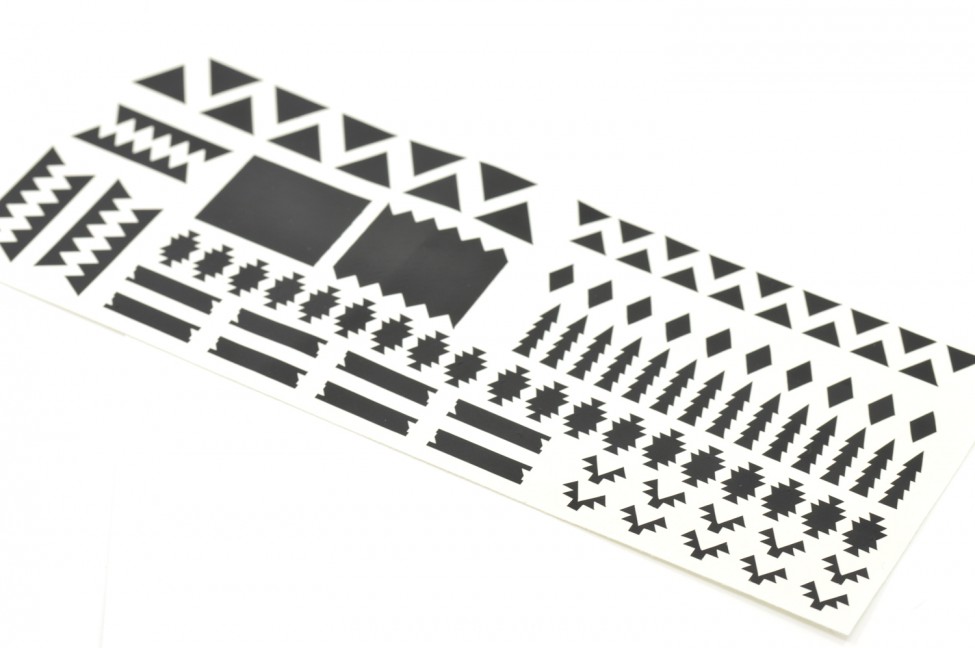
 I hand cut each and every one of those labels. It was a lot of work and took so much time. But I thought it looked amazing! I used that logo for quite a while and we lovingly took out products to craft shows across the state and soon joined Etsy to sell online.
 And I improved my photo skills along the way too!
 But as you improve, other things start to look tired and old. So in early 2011 I tagged in a designer for a new logo. I was attached to my lady bug as it represented my daughter, so I wanted to include that along with some feminine elements. You can see how we got from the first designer suggestion, to where we are currently at with our logo in early 2018.
![]()
![]()
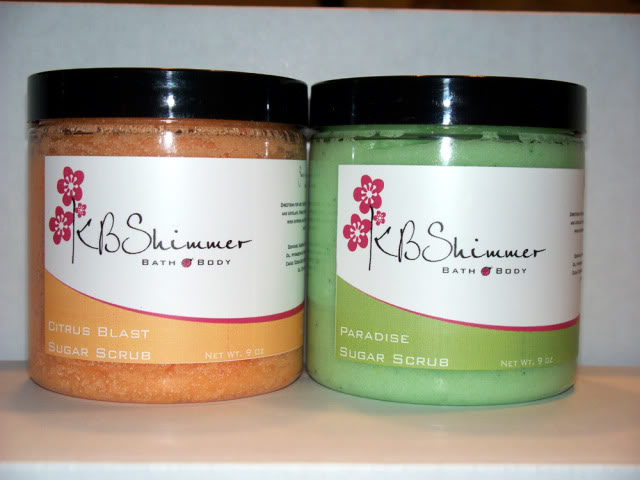
But of course we did not stop with a logo change. We updated the packaging to reflect the new logo, and coordinated a swoosh and a color to go along with each scent.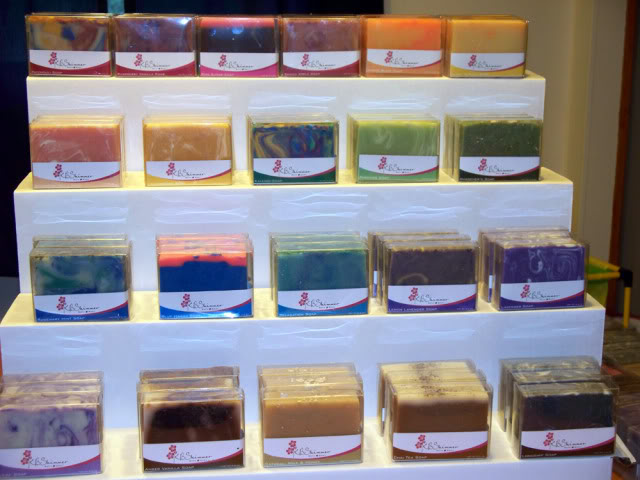
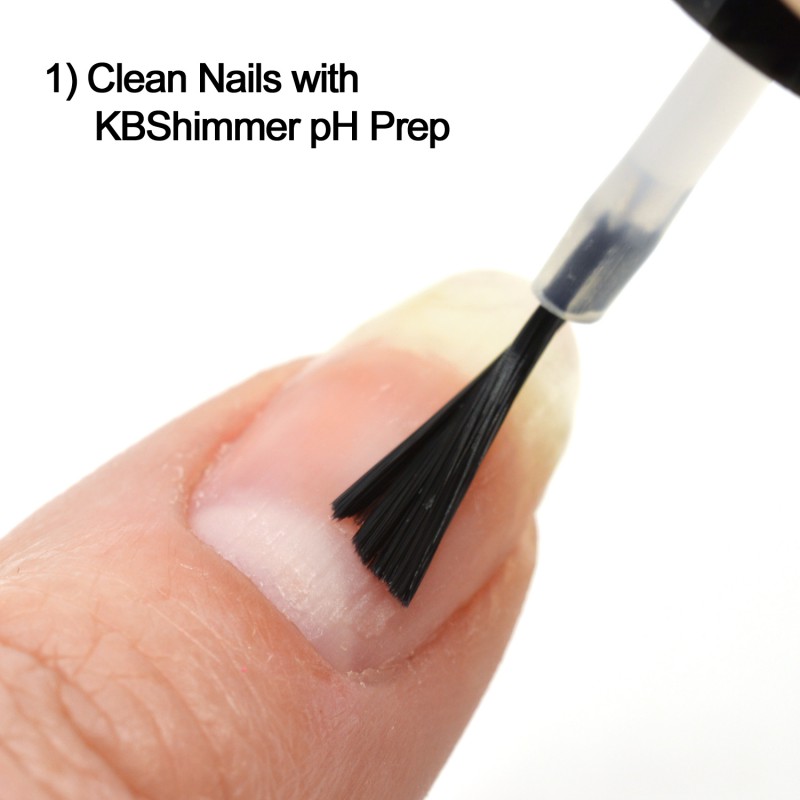
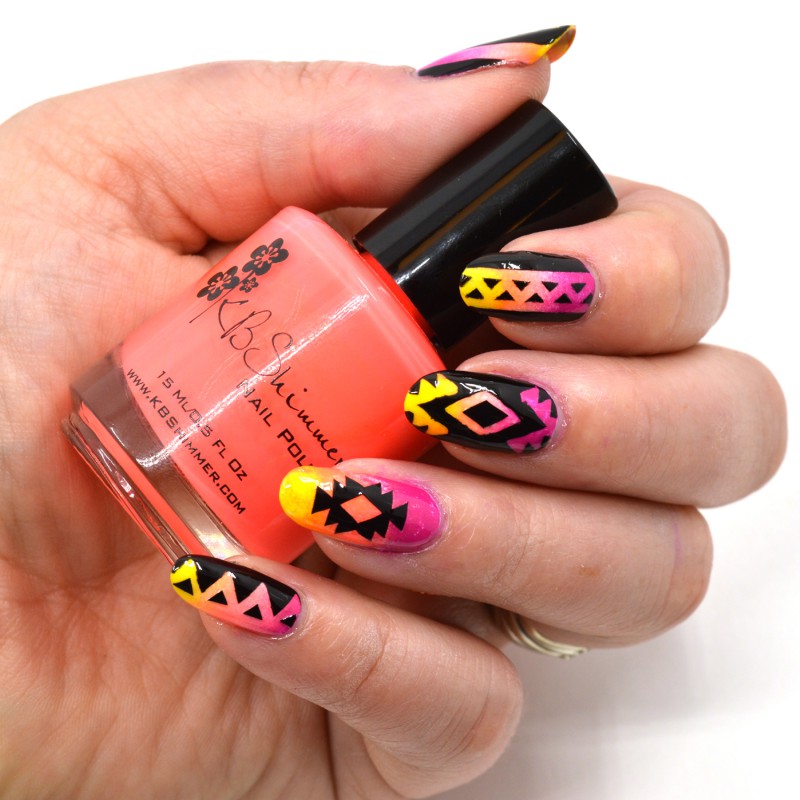
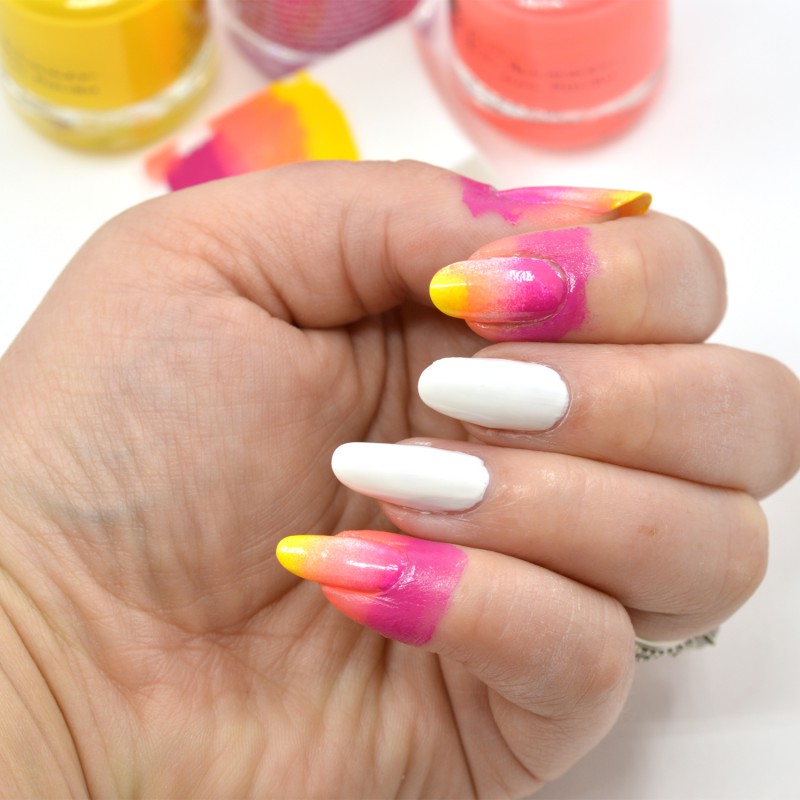
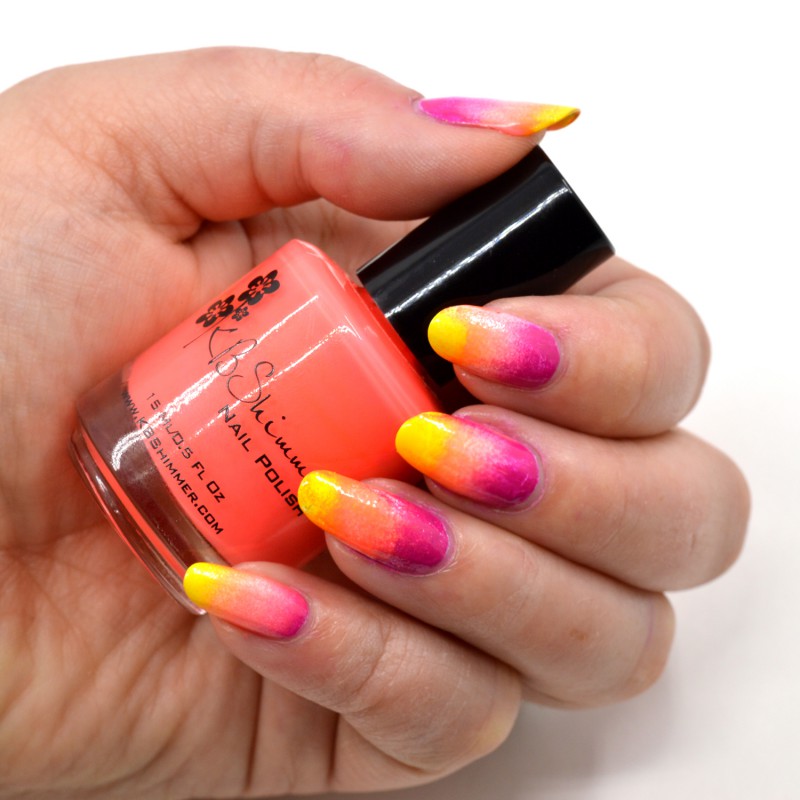
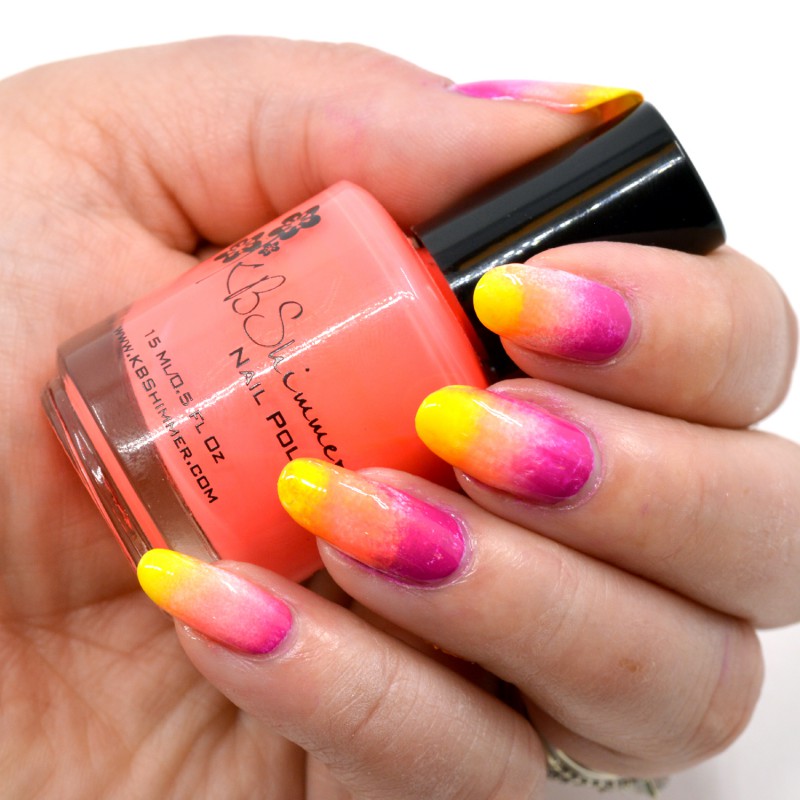
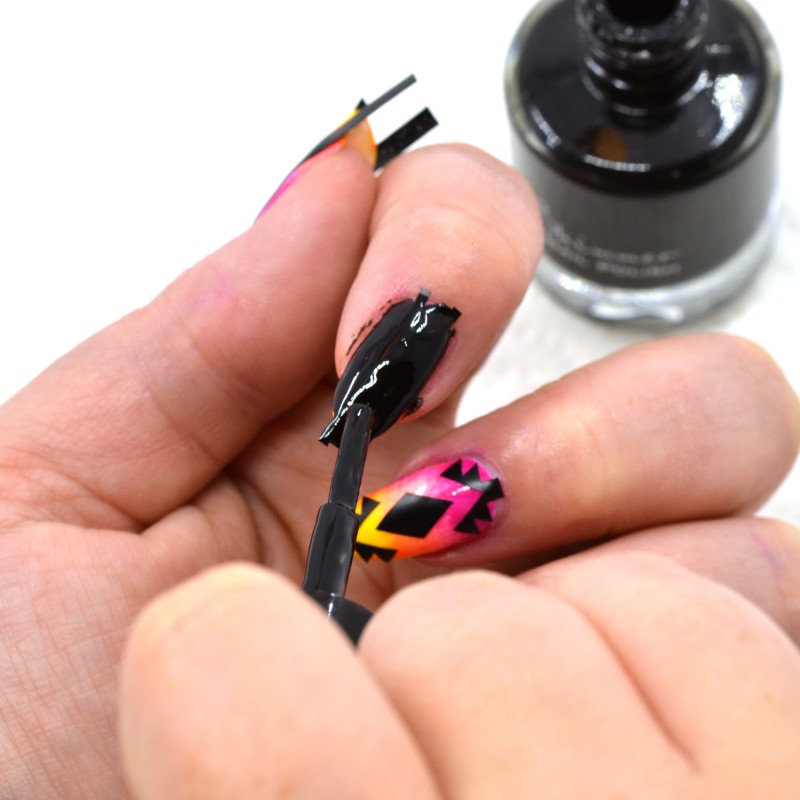
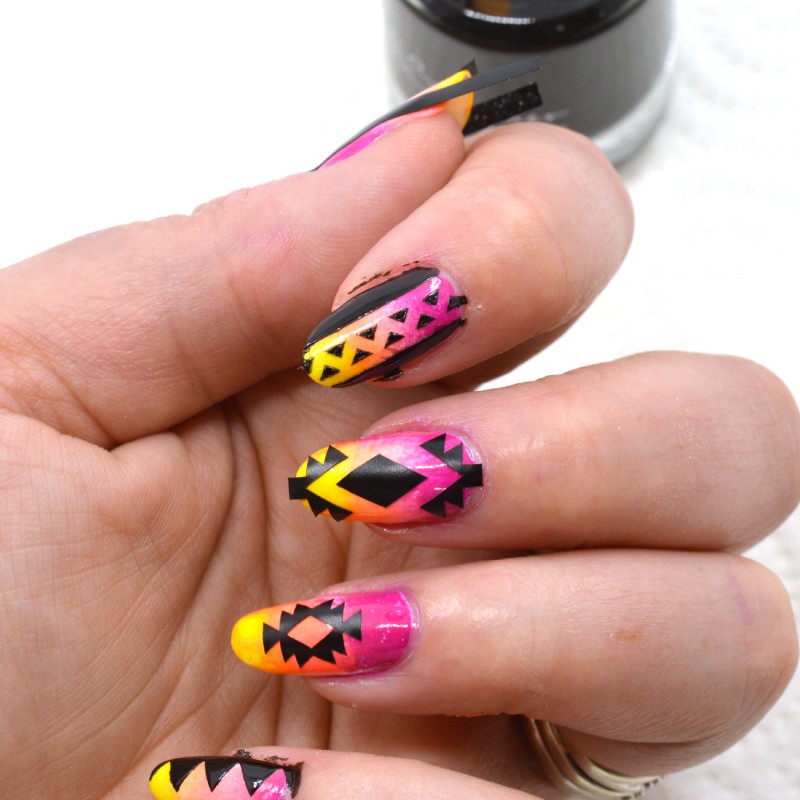
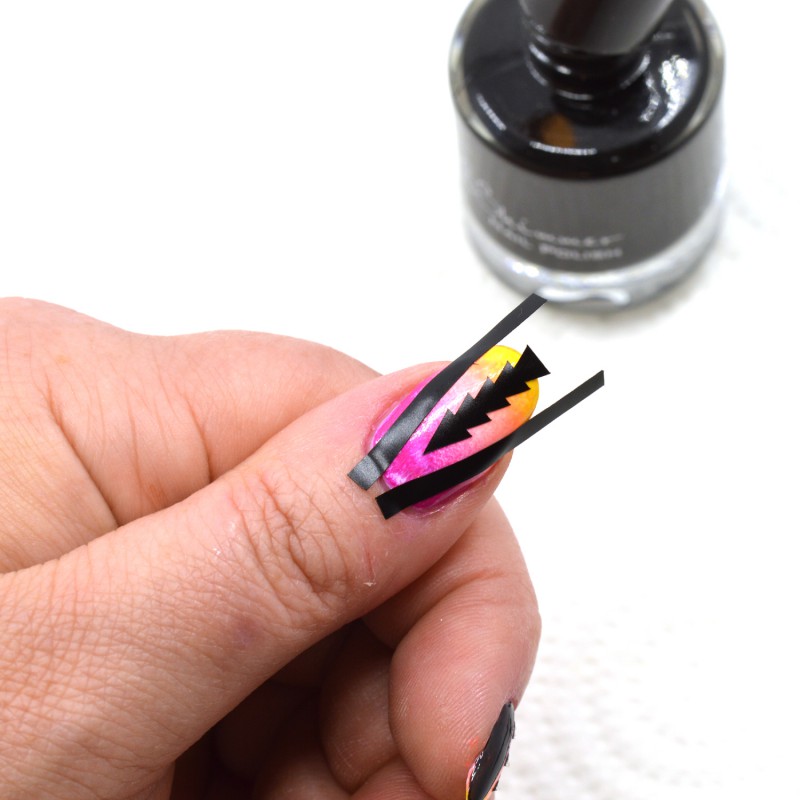
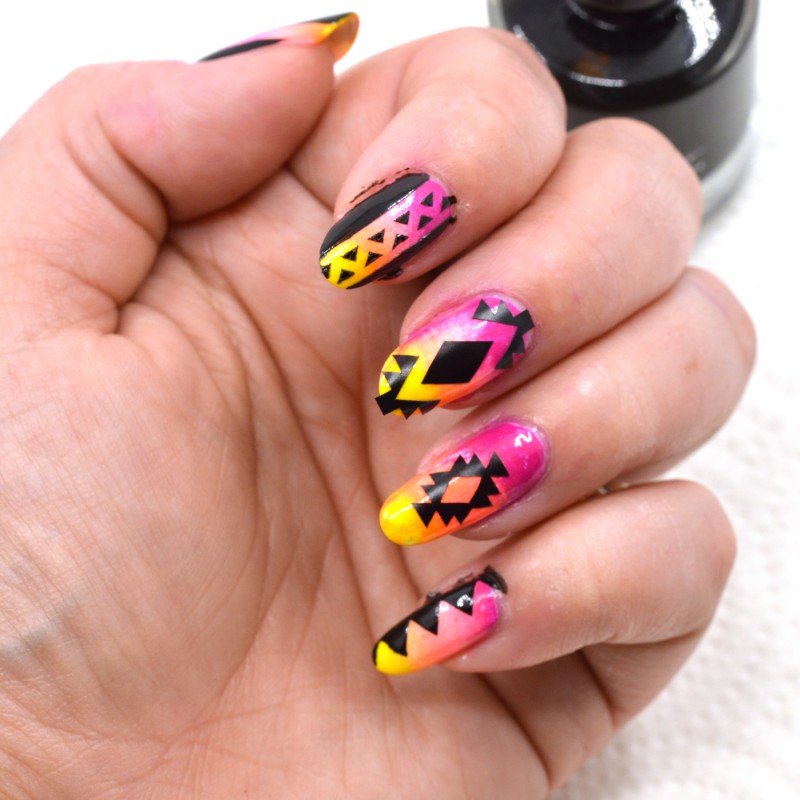
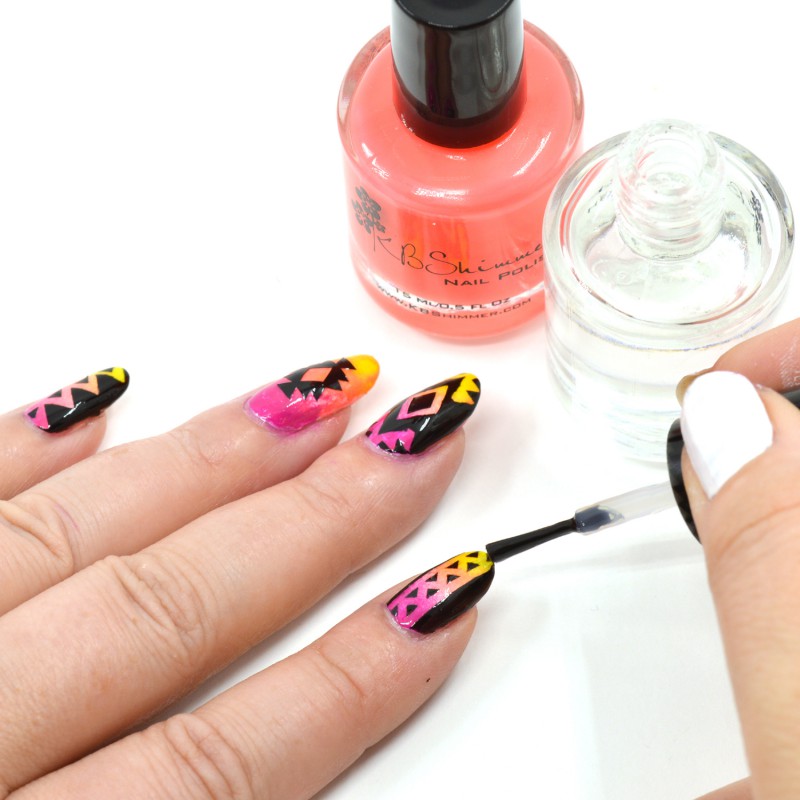
We are looking fancy now! We also launched nail polish in 2011! We had labeled each bottle, and used a syringe to fill. Batches we made in mason jars. It was so exciting to see the polishes going to so many people!
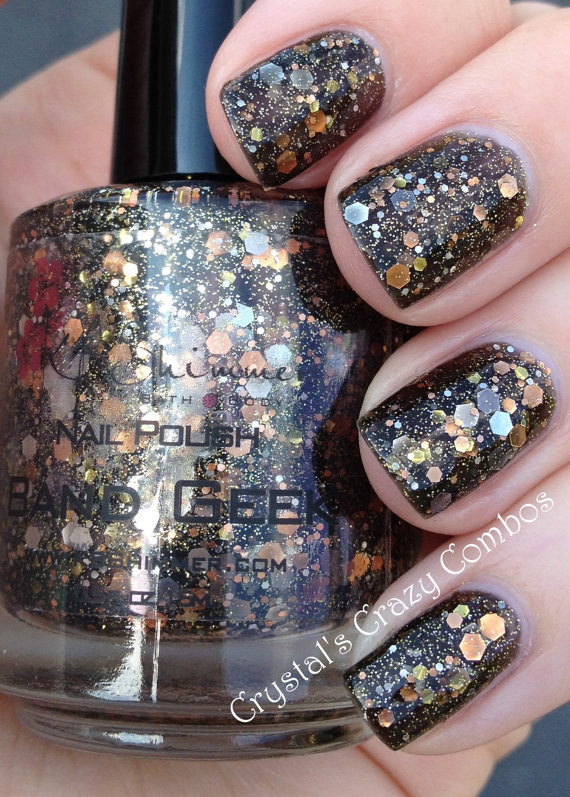
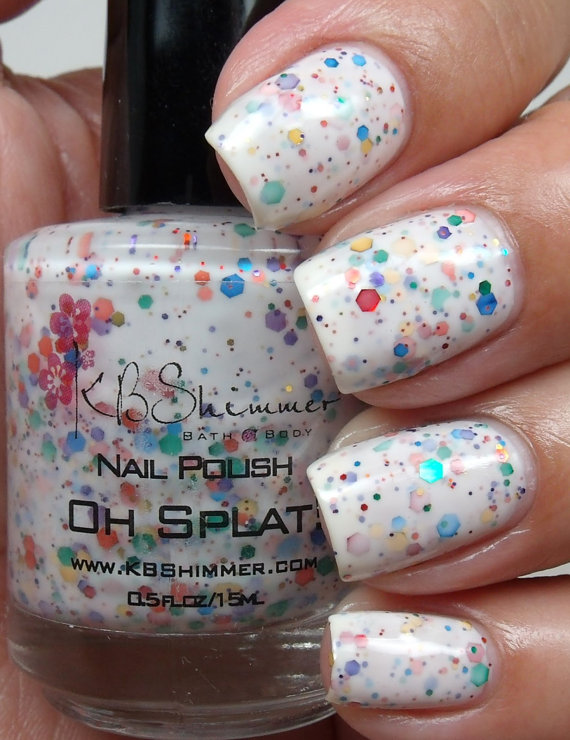
I thought we were rockin’. I loved the labels on the bottles, the logo was fresh and new, and business was growing. As soon as we could source base in large quantities, we added polish to our website, and kept all the shades in stock at all times. It was a lot of work, but we wanted our customers to be able to shop at any time, not just during launches and restocks.
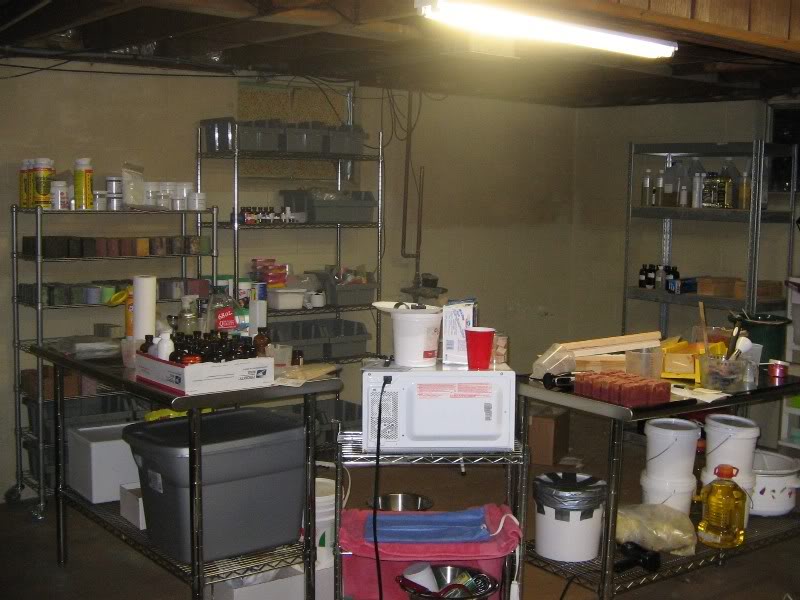
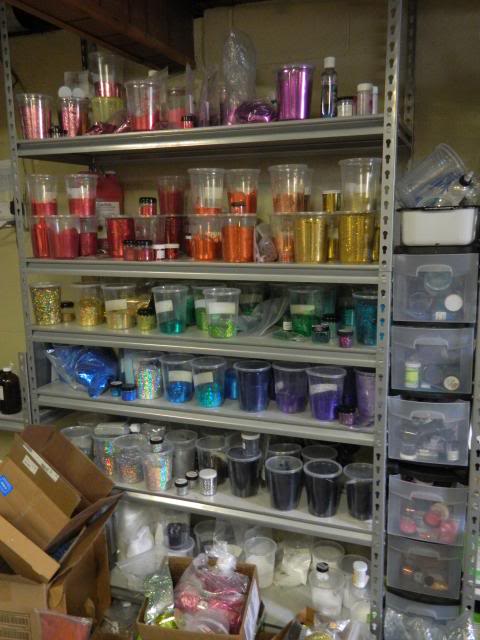
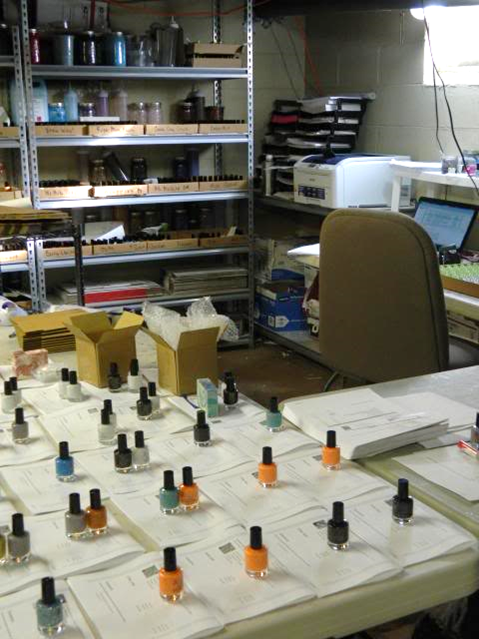 As polish was always available, you guys kept us busy! We filled more shelves with polish, took over more of the basement, and soon I had my husband helping pack orders. As business picked up, we took a leap of faith and ordered printed bottles, launched a new website and scaled up our batches.
 From there days got longer, and my husband joined KBShimmer full time. Soon every inch of space was filled. ad we were busting at the seams. Semi drivers were coming to our house, and the business took over.

So took the biggest leap of faith yet. We decided it was time to move! So in April 2013 we rented a warehouse! Welcome to KBShimmer HQ.

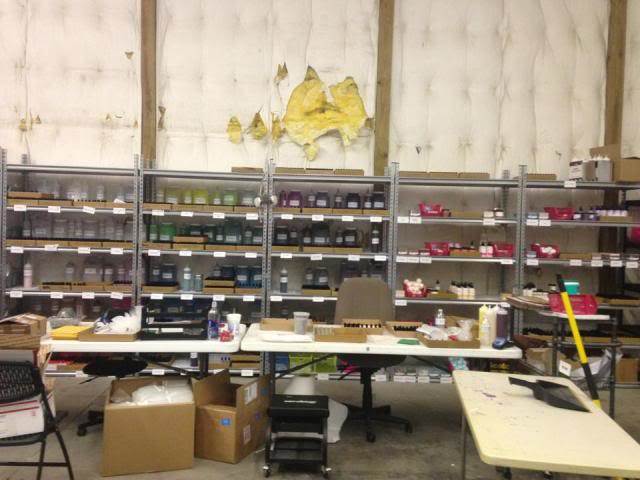 It was not long before we needed to expand, taking over additional space in the warehouse area and we built out a production area and kept shipping in our original space.
 It was in 2015 that we needed to make some packaging changes. We wanted a fresh new look for KBShimmer, so we dug in, took some branding courses, and tagged in a designer to freshen up the look of our body products. We learned a lot about websites as crashes kept us busy every launch. Early in 2016 we revamped our website and almost solved the website crash problem.

 So 10 years later we are still going strong. We now employ 2 full time people in addition to my husband and I, one part time employee and 1 independent contractor. Not to mention my poor webmaster who is always getting emails from me. We are looking forward to bring on more staff and have some fantastic surprises up our sleeves.
What will 2018 bring? You will find out very soon! Make sure to check back for all the details!