Color Me Chic: 5 Ways to Match Your Jewelry and Nails
by Jade McCampbell of Jewelry TV | Jun 01, 2015

Summer is all about vibrant color and fun in the sun. Kick up your color this summer by matching your polish with colorful gemstone rings and bracelets! Jewelry TV has partnered with KBShimmer to bring you perfect pairs of nail polish with juicy, gemstone jewelry. KBShimmer is your one stop shop for dynamic nails – from holographic shimmer to multichrome metallics your mani is sure to shine!
Turquoise Waters
The color turquoise is always a summer staple – it immediately brings me to memories of floating in the pool on hot summer days, or looking out on beautiful, blue water at the beach. Take one look and you’ll know that this Glacier Topaz™ jewelry is anything but cold! They match perfectly with the “Laugh Myself Lily” nail polish – a soft turquoise color inspired by floating water lilies.

Topaz and “Laugh Myself Lily” KBShimmer Polish (SKUS: ANH195, EOH249, DOCZ199, DOCZ812B)
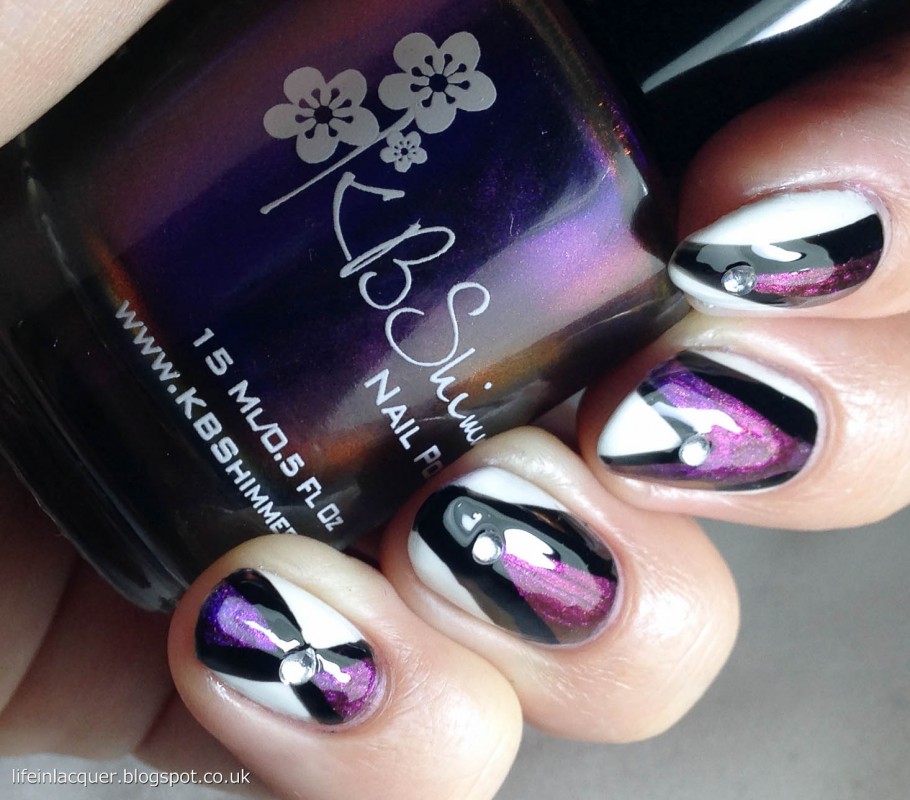
Lilac Love
Rose gold and lilac collide in a gorgeous match! I love how light and airy this combination is. Kelsey’s orchid amethyst jewelry in rose gold over sterling silver absolutely glow with her holographic, purple-pink manicure. The ring to the right was probably my favorite of the shoot – I’m truly a sucker for lilac colored gems and this ring is even more luscious in person, if you can believe it!

Orchid Amethyst and “Thistle Be The Day” KBShimmer Polish (SKUS: MAE040, STJ494, STJ279)
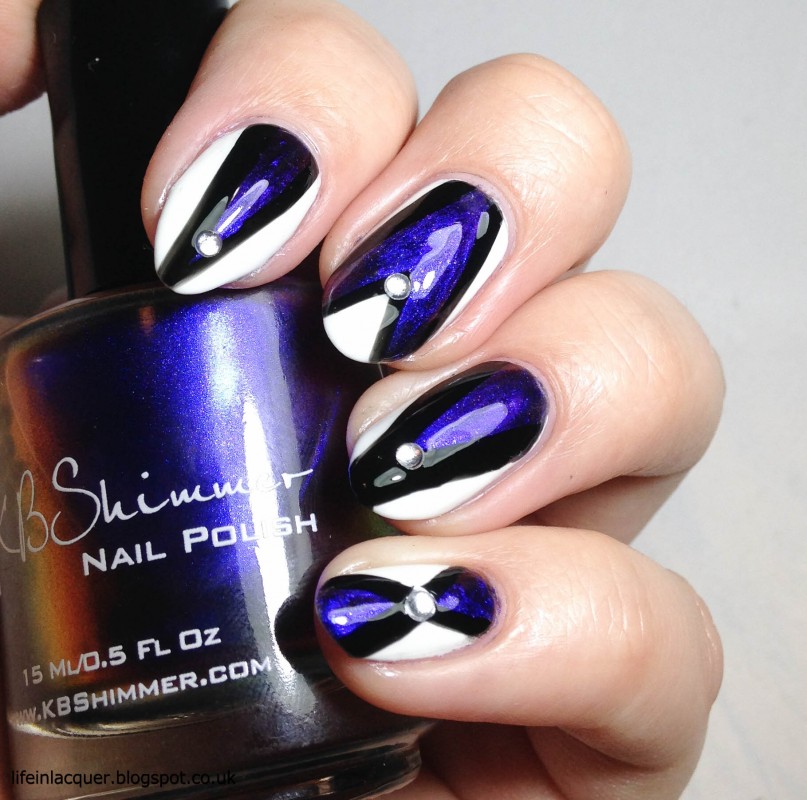
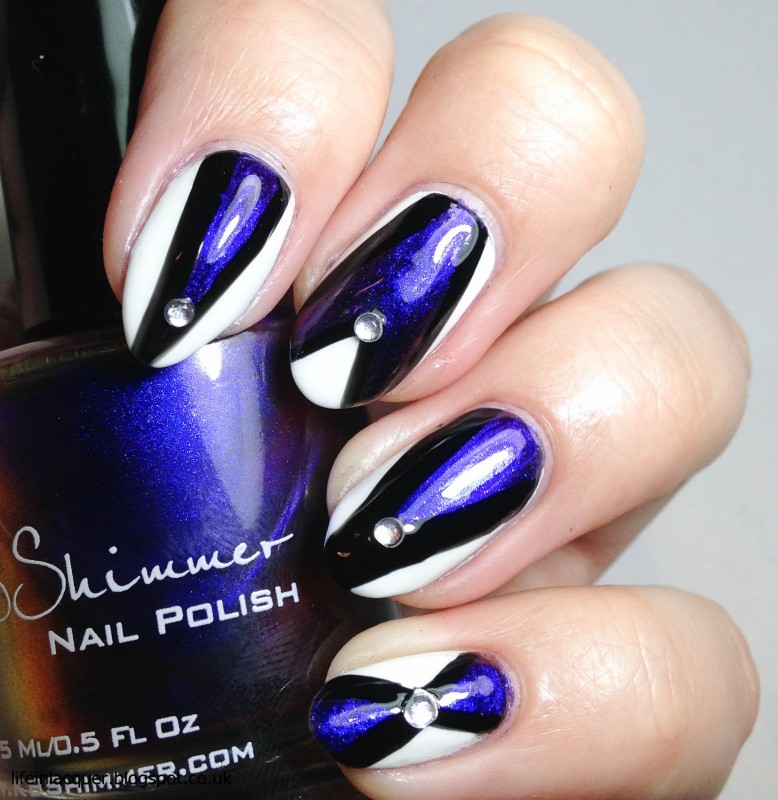
Keeping Chrome
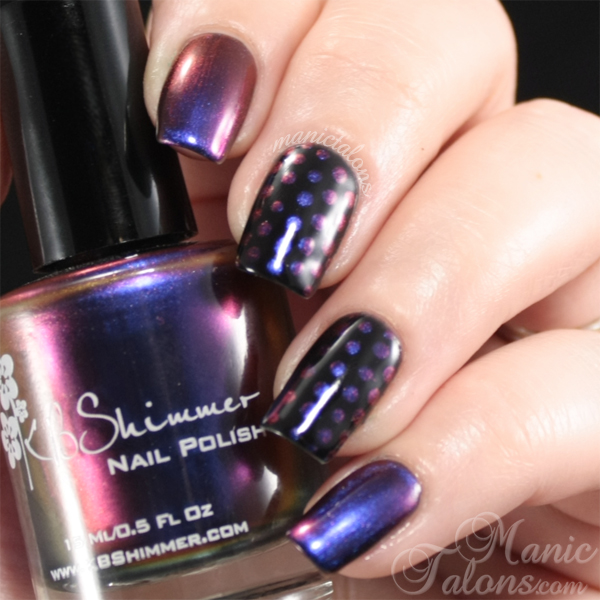
Mirrored sunglasses are everywhere right now, and with the help of Mystic® Topaz jewelry and “Look on the Nightside” nail polish you can keep the chrome even when your shades come off. It’s amazing that KBShimmer has a polish that imitates the shifting shades of my Mystic® Topaz Rings and bracelet– from green, to violet, to blue! Try this look and you’re sure to stand out this summer, the nail polish alone is a conversation starter!

Mystic Topaz and “Look on The Nightside” KBShimmer Polish (SKUS: ANH161, JWH108, MKH065, JWH109)
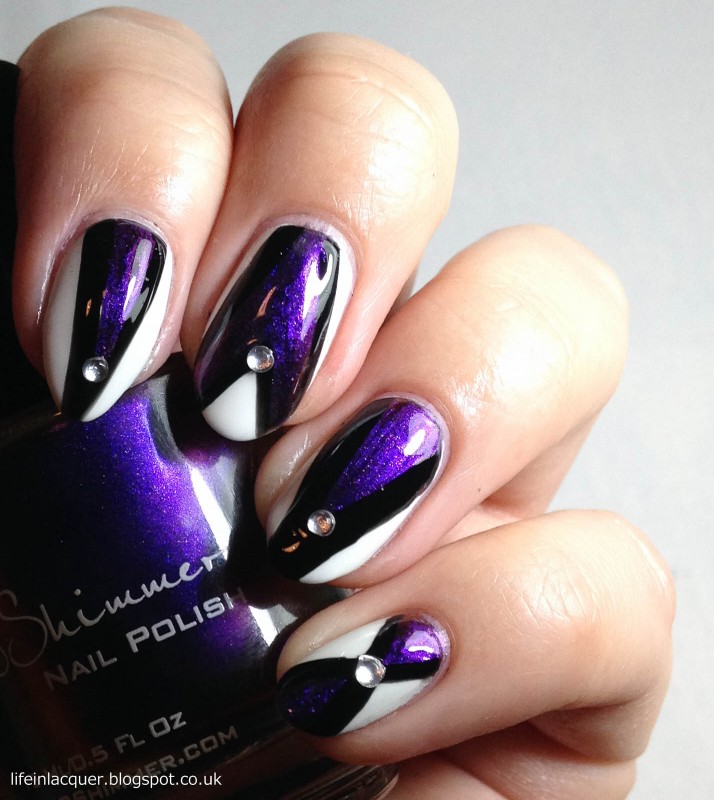
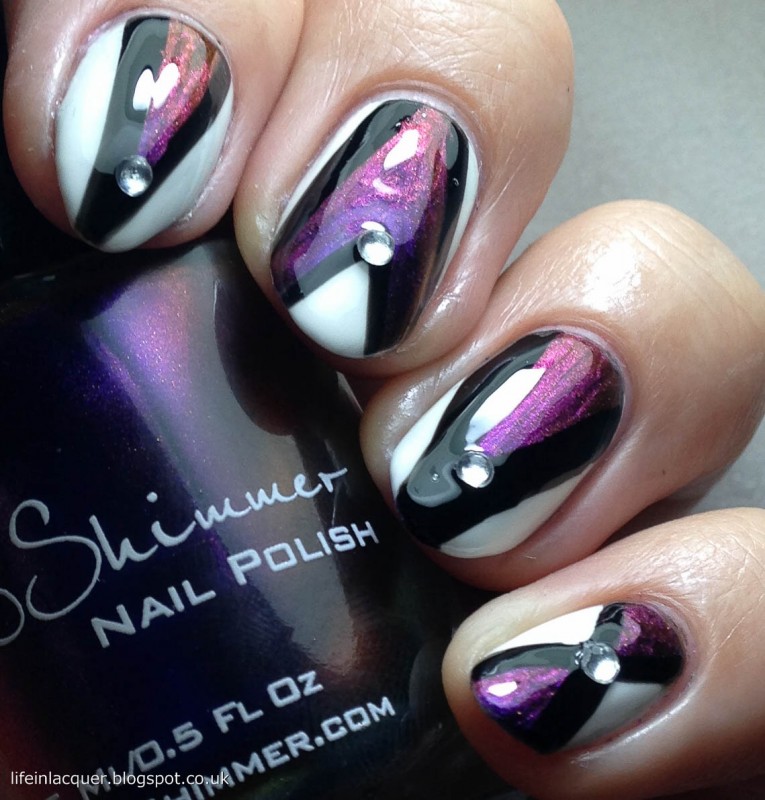
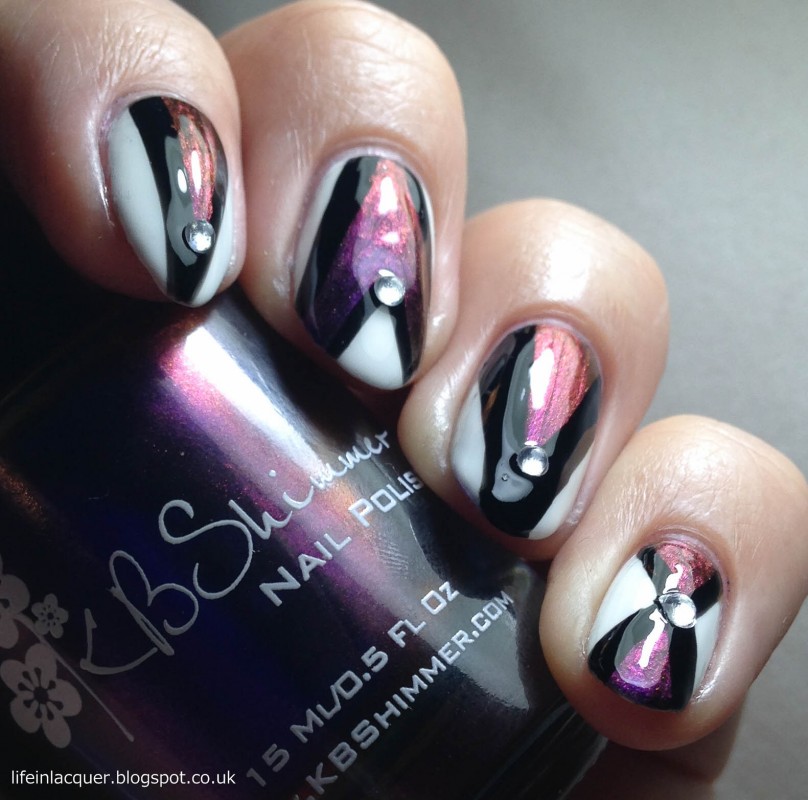
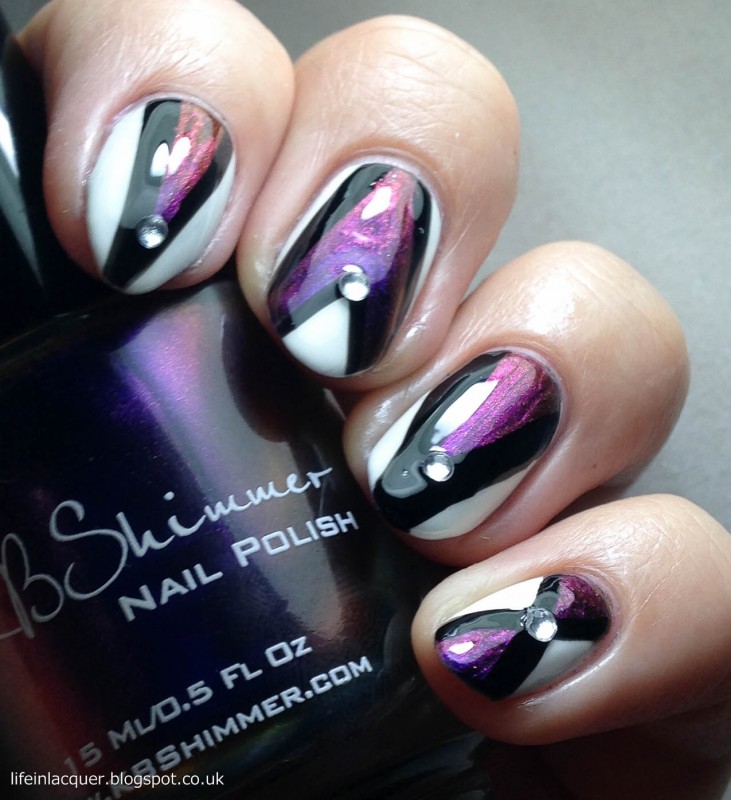
Punch of Purple
Jewel tones aren’t off limits this summer. Add a little guilt-free drama to your ensemble with these striking deep purple amethyst rings. Personally, I love all shades of purple and the darker hues give a rich and exotic feel. Even if you don’t have a vacation planned to an exotic locale this summer, you can put these on and still feel like a jetsetter! These rich amethyst hues pair perfectly with “Pigment of My Imagination” polish.

Amethyst and “Pigment of My Imagination” KBShimmer Polish (SKUS: STZ028B, STI881, STZ028R)
Pretty in Pink
Melissa is pretty in pink with her pink Bella Luce® and Pure Pink™ Mystic® Topaz rings and bracelets. No color is quite as flirty and feminine as pink! Her pink jewelry and manicure capture the fun, carefree spirit of summertime. Spend an afternoon in the sunshine and you’ll see how they peachy rose-colored polish, “Blush Money”, shimmers with hints of gold!

Pink Jewelry and “Blush Money” KBShimmer Polish (SKUS: MLH186, BJJ900, BJK082, BJK294)
Who doesn’t love a fresh manicure and new jewelry? No one! Get out there and make a statement this summer. It’s as easy as a fresh coat of polish and a cocktail ring!

Jade
Do you want to win a KBShimmer prize pack and $300 Jewelry TV shopping spree? Click the linked picture below to find out how!