I get questions often on how best to apply glitter polish, how to reduce chipping and extend wear, the best way to remove glitter polish. Below are some of the tips and tricks I have compiled, plus two videos on application and removal.
First, I want to say that KBShimmer nail polish is not a Gel polish. You do not need any special lights or machines for application. KBShimmer polish is not a quick dry polish. You many see the 60 second polish, or 90 second polish. Ours is not that type either. It is a regular polish, that will take time to dry. For the best dry time, use thin coats, waiting in between each coat for at least a few minutes will help the polish dry.
Application Instructions
- Roll bottles between hands before use. Large glitter can sink to the bottom and polish can separate in the heat. With our polish, you can shake it. Leaving the bottle upside down for a few minutes before application can help reduce “fishing” for larger glitters.
- Wash hands and ensure nails are clean, use KBShimmer Nail Prep if desired. Make sure hands and nails are dry after washing.
- Use a base coat. This will protect your nails from staining and aid polish in adhering to the nail.
- To apply evenly, dab the polish on the middle of the nail, then sweep the brush to distribute.
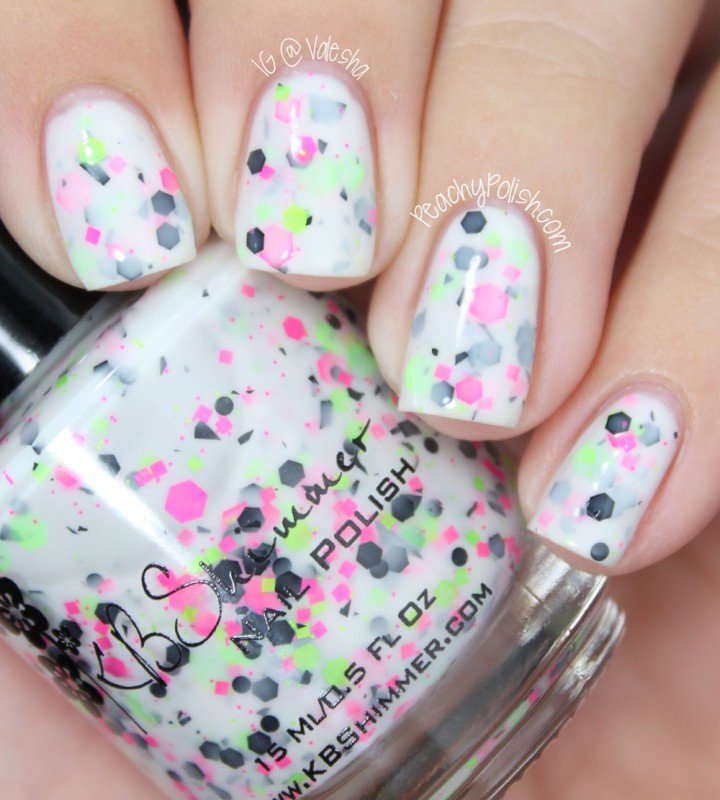
- Apply in thin, even coats. Two – three coats are recommended for the best look, but some sheer polish may be best layered over other colors.
- Glitter polish will feel rough on the nail once dry. To achieve a smooth and shiny look, use a fast dry top coat like KBShimmer Clearly On Top. Some polish may need two coats of top coat for that smooth, glass like finish.
[youtube]http://youtu.be/IMTKrBUs46c[/youtube]
Easy Removal
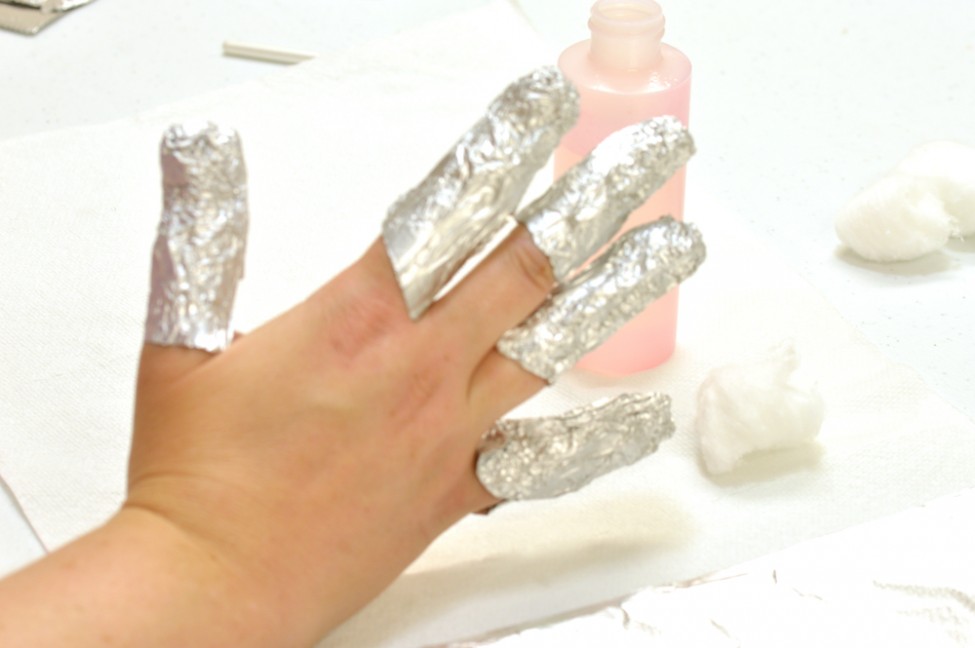
- Gather polish remover, cotton balls, and tin foil.
- Cut or tear foil into palm sized pieces.
- Soak the cotton balls with polish remover,
- Place soaked cotton ball on the polished nail.
- Cover tightly with tin foil. Wait 5-10 minutes. Twist foil around the nail and pull off. Polish and glitter should come off clean.
- If any residue is left, use more remover and cotton balls to remove the excess.
- Wash hands to remove any stray glitter, preferably with KBShimmer Soap!
[youtube]http://youtu.be/LSHqLYbZ5ss[/youtube]
Why Does Polish Chip/Peel/Come Off My Nail
- Top and base coats – Different top and base coats can cause polish to pop right off or chip. There is a base coat called Yellow Stopper that causes glitter polish to pop off, and Seche Vite top coat can also cause polish to peel away. Both shrink causing air to get under the polish and it will chip or pop off. KBShimmer Clearly On Top and Basic Training both work for many people, and your favorite brand many work well too. Layering a cream polish you know sticks under the polish.
- Polish Thickness: Apply in thin layers that can dry, instead of thick layers. Thick layers many not dry completely, never properly adhering to the base coat. I also like to apply the top coat, no matter the brand, while the last layer of polish is still tacky, but not wet, so they dry together.
- Application- Make sure that you not only wrap the tip of your nail with polish, but that you wrap the tip of the nail with the top coat too. Exposed tips can greatly increase chips and decrease wear time.
- Moisture in the nails (i.e. you polish after a shower or bath, wash your hands often or right before applying). Your nails need to be dry before polish. Wet nails will contract when dry and polish will pop right off. The same happens if you spend a lot of time in the pool or with your hands in water, the nails will expand causing cracks and separation and the polish will then chip or peel. If you plan on washing dishes, gloves are a manicures best friend.
- Oil on the nails: Some people have very oily nails, and polish therefore will not stick well. You can try cleaning your nails before applying the base coat with a nail prep product like KBShimmer Nail PH Prep. Make sure if you are using lotion that you wait a few hours for it to absorb before polishing. Also try using lotion a few hours before applying polish and don’t use moisturizing remover on your nails right before polishing.
- Dry Nails: The opposite of oil nails, if you have dry nails that peel, the base coat and polish will have a hard time sticking, as your nail will still peel letting air under the polish. Using a nail strengthener, moisturizing often (but not right before polishing) and never buffing nails will help improve nails to reduce peeling, therefore helping polish stick longer.
- Body Chemistry/Nail Structure- Last, everyone has such different body chemistry, such different nails, that not every polish brand will work well for them. I have spoken to a few ladies that no matter the brand, polish never lasts more than a day. Some are having luck with the CND sticky base coat extending wear time. Myself personally, I have brands that I cannot wear more than a day without chips, but others that wear like iron. If you have long thin nails that flex, you might find my polish does not work as well as it is not super flexible, it is more stiff when dry then rubbery.
Caring For Your Polish
- Storage – For best results, store polish in a cool, dark place with the bottle upright. Polish, especially Indie Polish, can separate over time. Storing upright helps the ingredients stay combined. I also suggest giving the polish a quick shake every few months or so. Heat can hinder the suspension properties of the base, so not storing in your car, in the oven, on your heater is a good thing. Not to mention polish is flammable. Some pigments can fade, and that is especially true when exposed to sunlight. I take care to use pigment that don’t fade, but do the polish a favor and don’t store in sunlight.
- Bottle Care – When you are finished using the polish, there is often a bit of polish around the neck of the bottle. Taking a cloth, wipe the neck and thread of the bottle to remove left over polish and glitter. If needed, use some acetone to help with the removal. Have clean threads and a clean bottle neck will allow a good seal with the cap. That good seal will help the polish to not evaporate and get gloopy over time.
- Thinning polish. It happens, polish is made of volatile ingredients that can evaporate over time. That can lead to thick, gloopy polish. It is fixable. Start with polish thinner, NOT POLISH REMOVER OR ACETONE. Add a few drops into the bottle, recap and shake, and check consistency. Repeat until it is the consistence you desire. When doing this, keep in mind that larger glitters or polish with a heavy glitter to base ratio will not be a smooth as a cream polish, and even thinner will not help that.
I hope that helps take the mystery out of glitter nail polish! If you ever have any questions, feel free to contact us at customerservice at kbshimmer dot com.