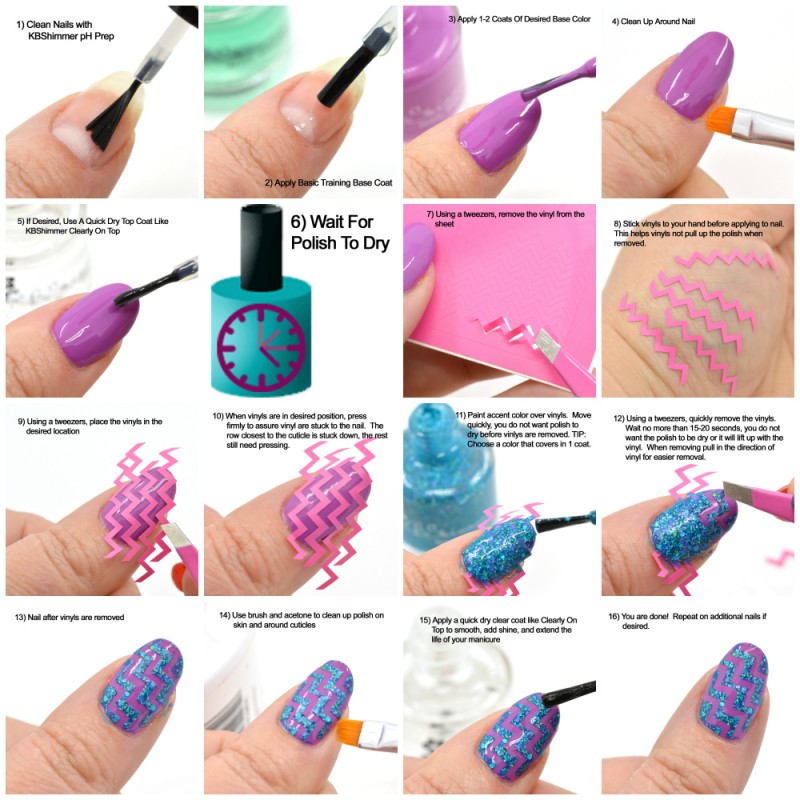
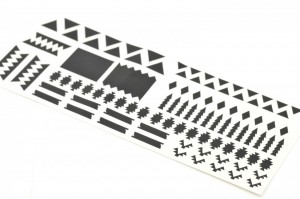
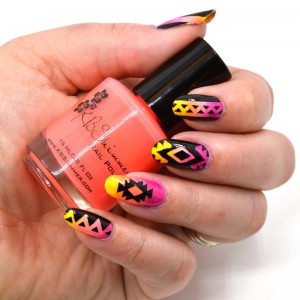
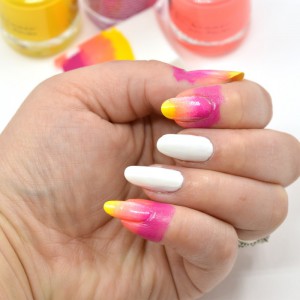
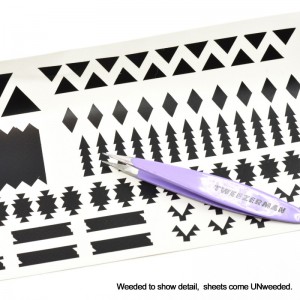
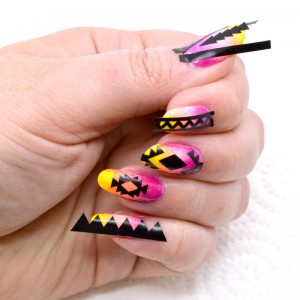
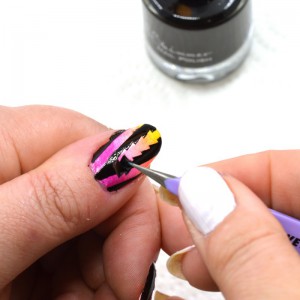
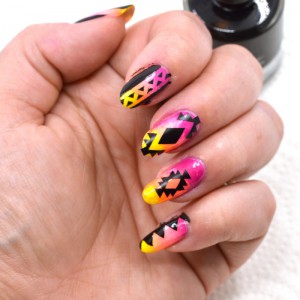
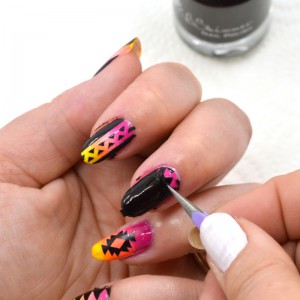
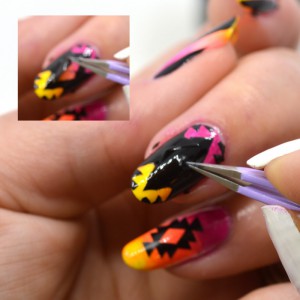
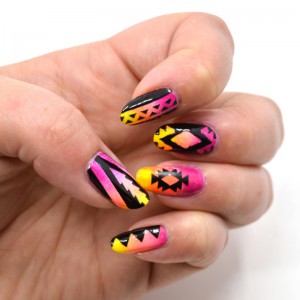
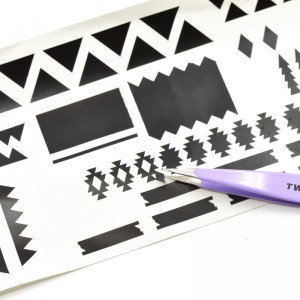
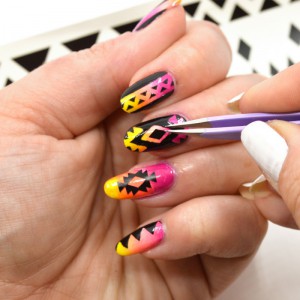
We are so excited to now be offering our vinyl nail decal sheets in 6 different patterns (set for launch 06/20/14). These are a new product for a lot of people, so we have a step-by-step tutorial below showing how to use the vinyl pieces as a peel off stencil. To see how we use them as a leave on sticker, see our Tribal Nail Art post.
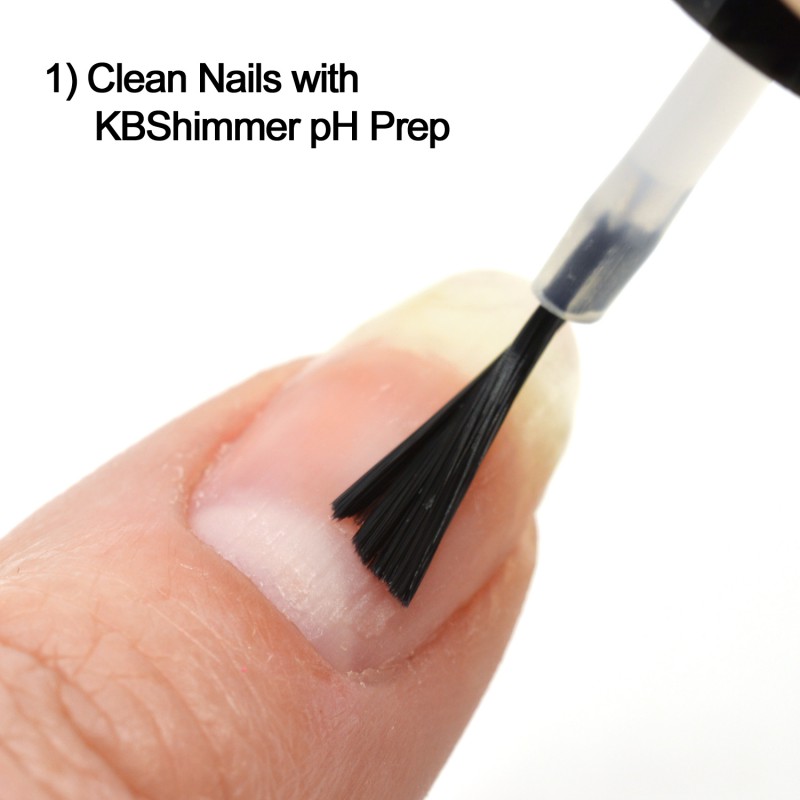
For a long lasting manicure, start with clean nails. Use KBShimmer pH Prep to clean and prep nails for base coat.
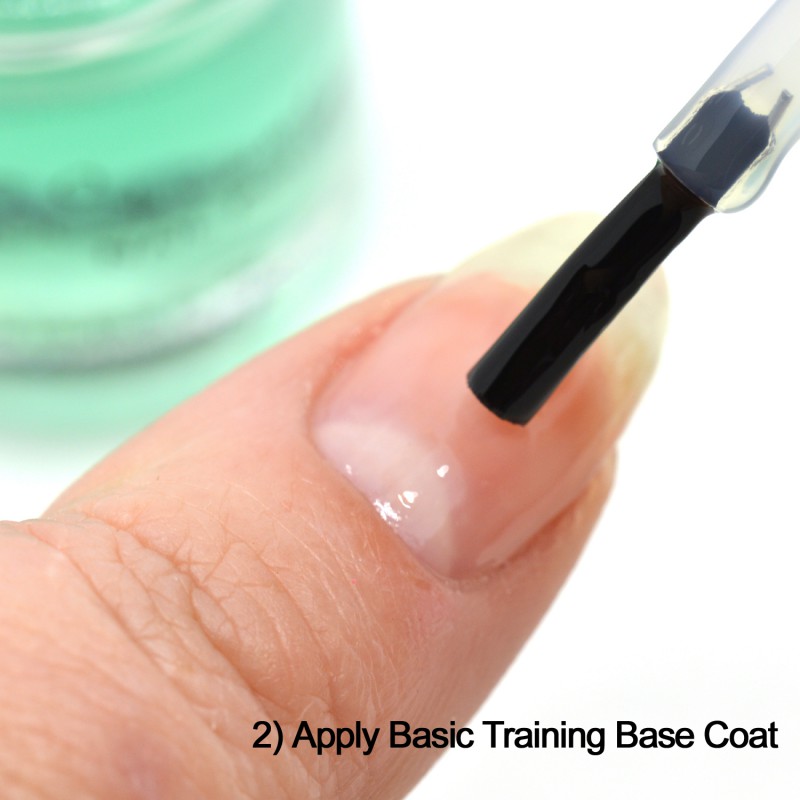
Follow by applying a base coat like Basic Training. Let dry before moving on to next step. Completely dry polish is key when using vinyl decals.
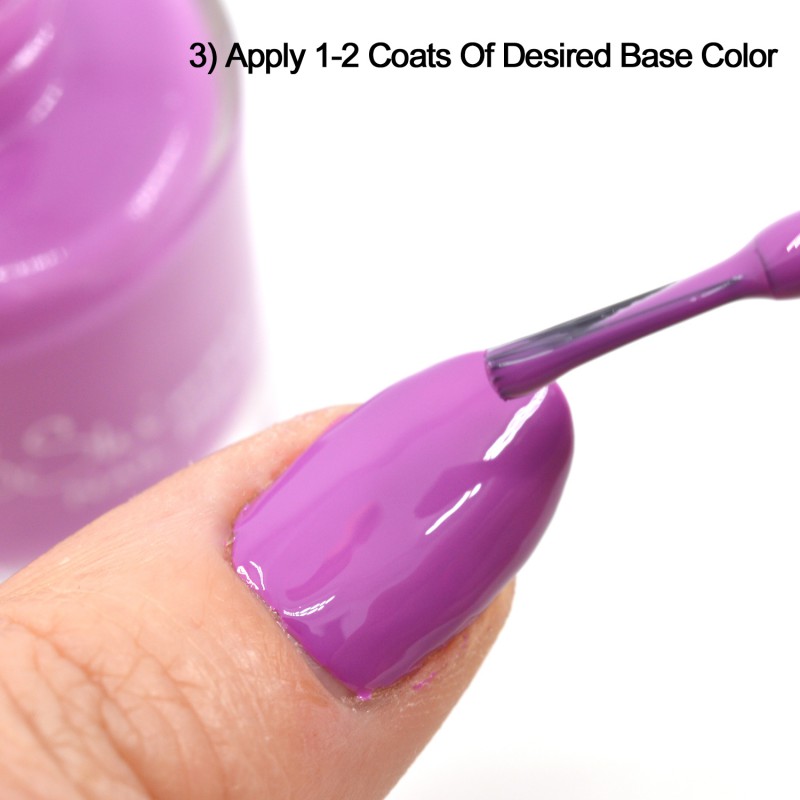
Use a polish that applies in 1-2 coats. You want polish to be dry, and too many coats will risk the bottom layers not being dry enough. I am using Radiant Orchid for my bottom color.
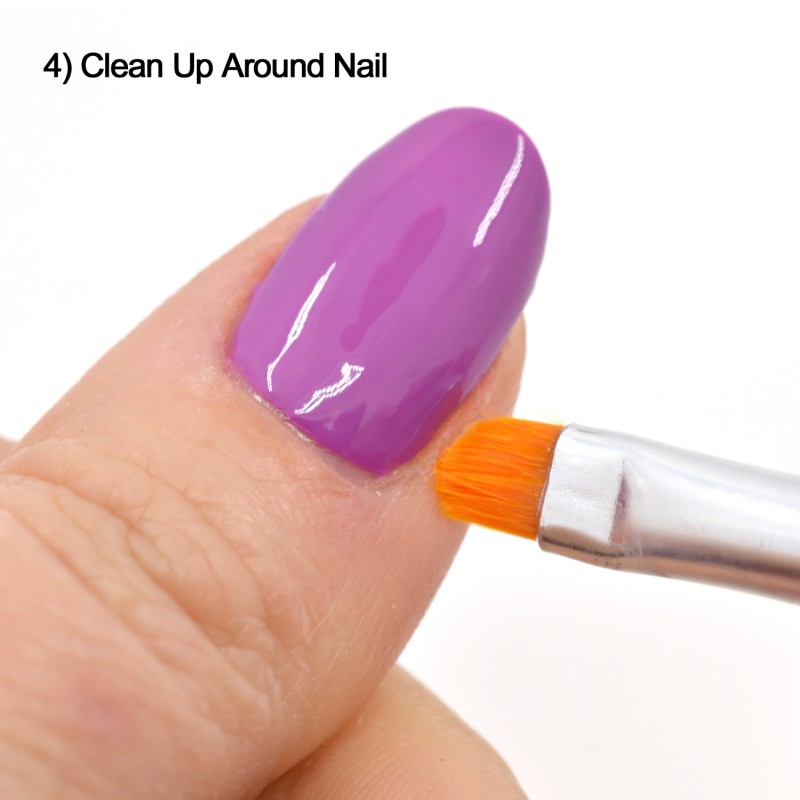
Cleaning up now will make final clean up much easier.
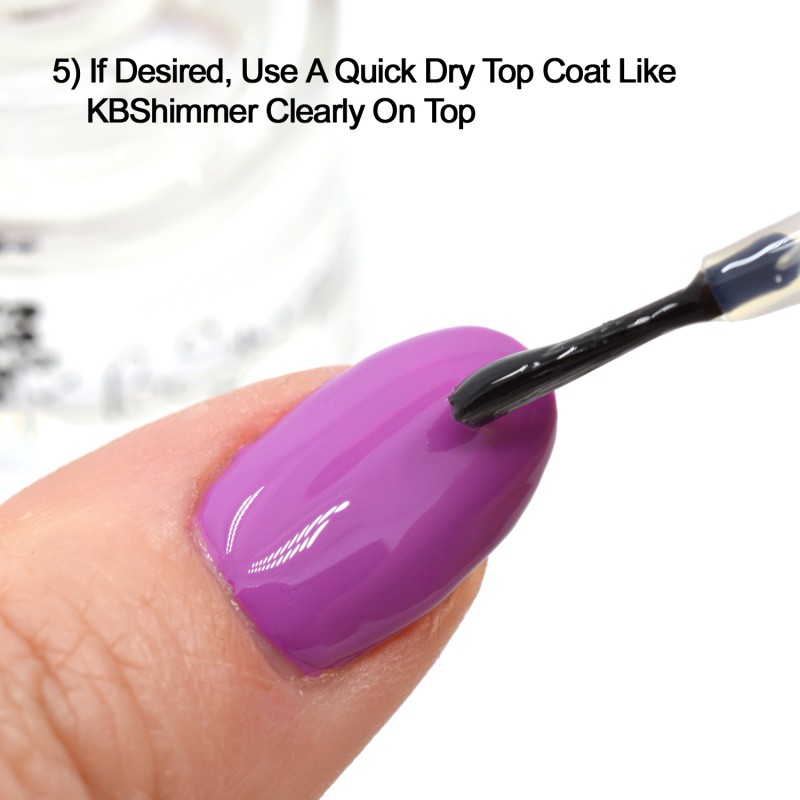
I strongly suggest that you use a quick dry top coat like Clearly On Top to ensure your nails are dry before the next step. Using a quick dry top coat will also make cleaning up any mistakes easier.
Again, making sure the polish is dry is key for a good turn out. Wet polish will pull up with the vinyl.
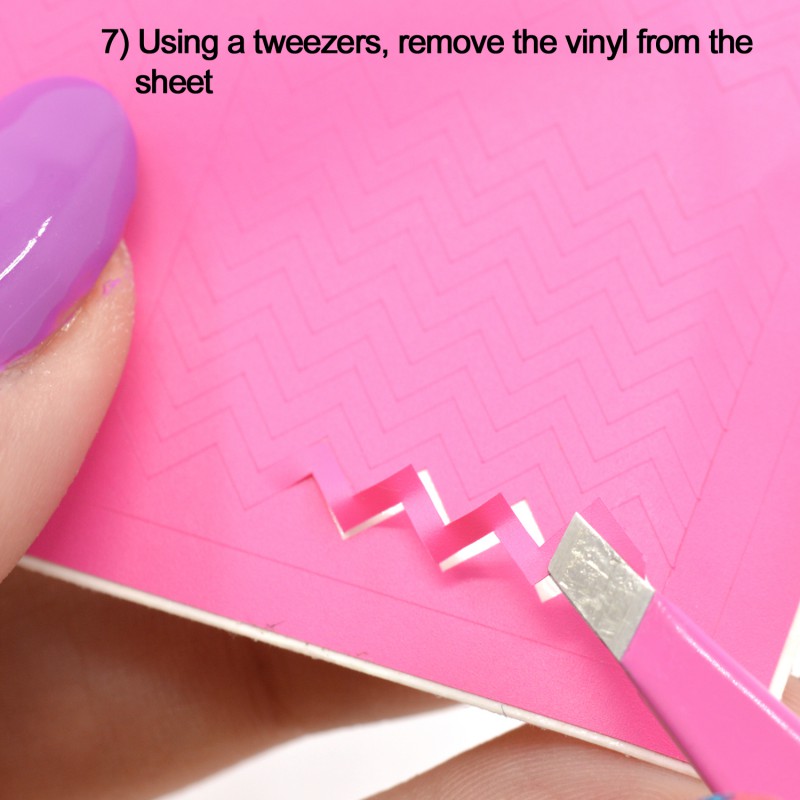
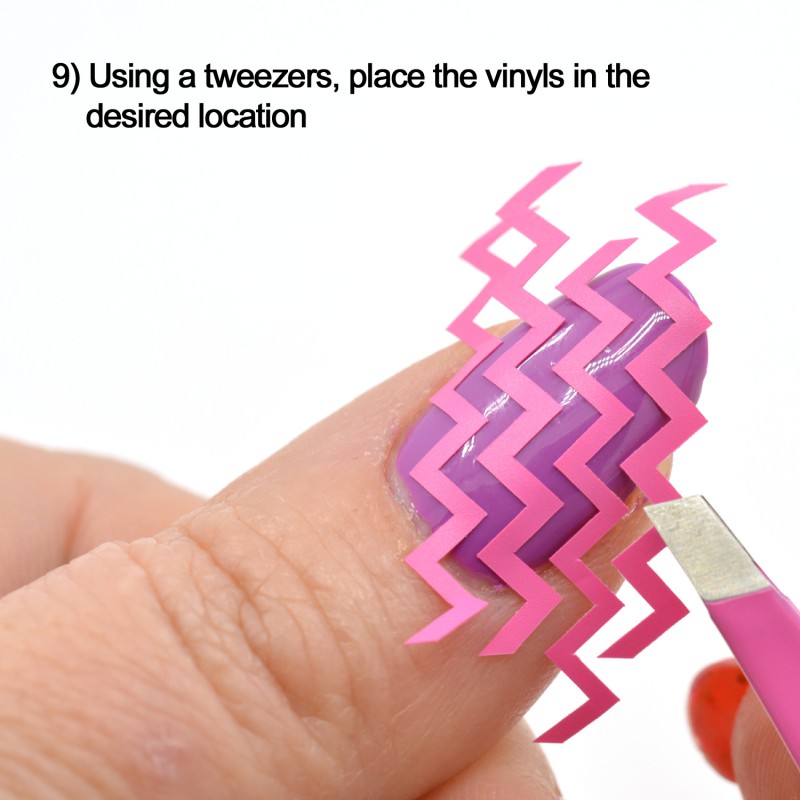
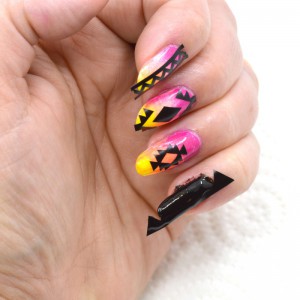
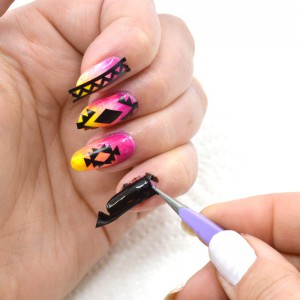
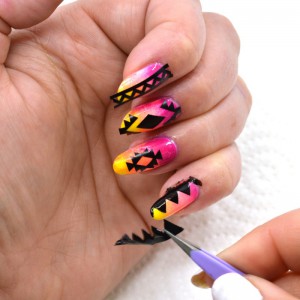
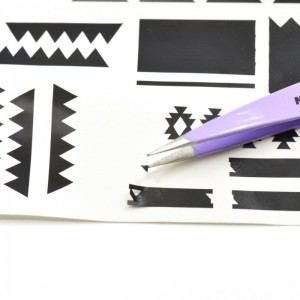
I find using a tweezers to remove the vinyl from the sheet works best for me, preserving the manicure on my other nails! Here we are using our Zig Zag Nail Vinyl Decals.
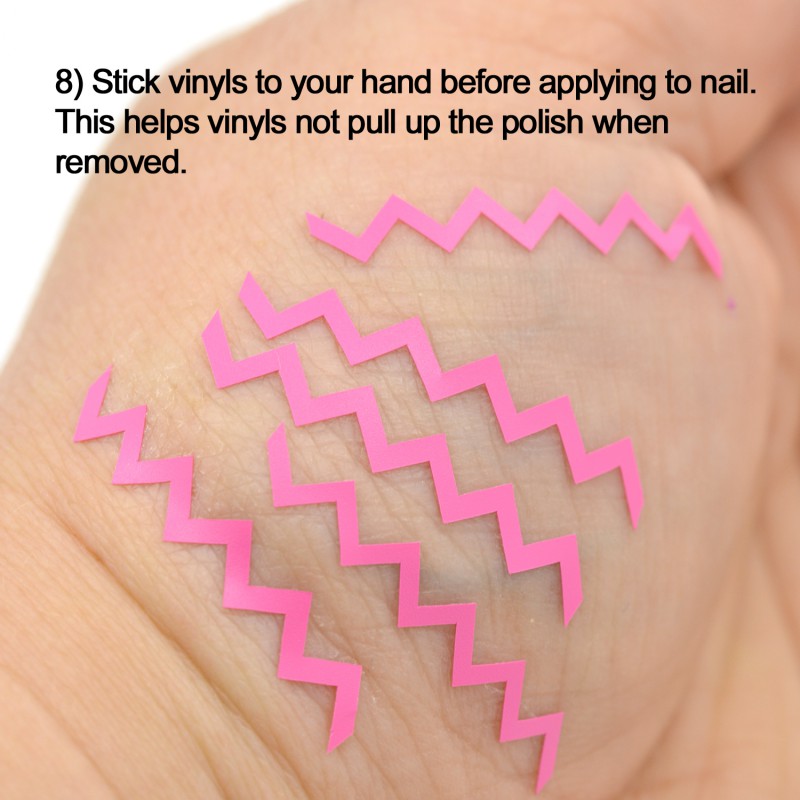
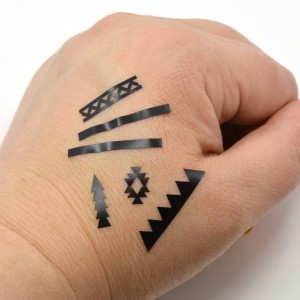
Stick the vinyl to your hand to help remove some of the stick. If they are too sticky, they can be difficult to remove, or can pull up polish.
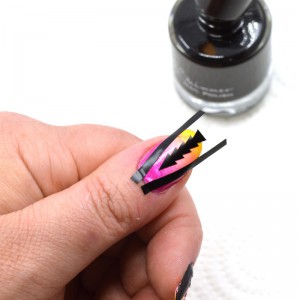
Using a tweezers helps me place the vinyl pieces, but you can use your fingers. There are so many ways and design possibilities with these, but I have chosen to line them up for a repeating zig zag pattern.
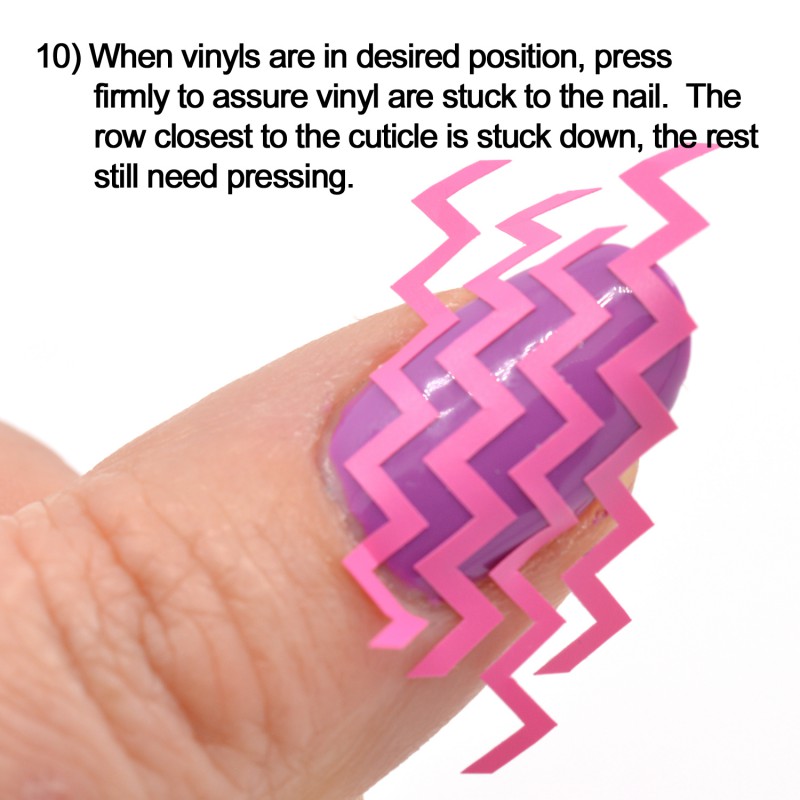
Press the vinyl pieces firmly. Doing so will help polish not seep under the vinyl, leaving you with crisp lines.
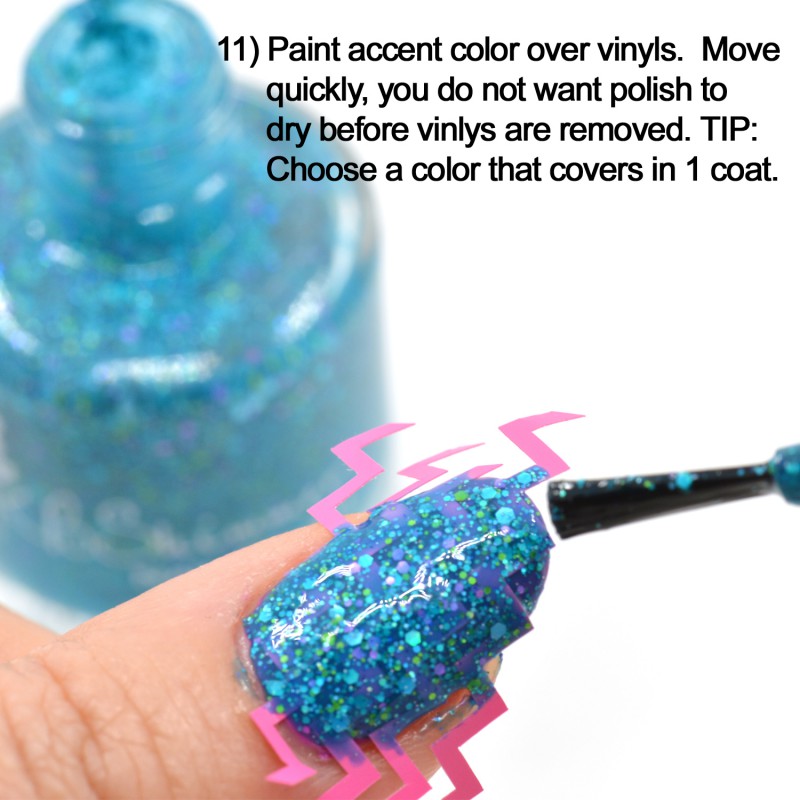
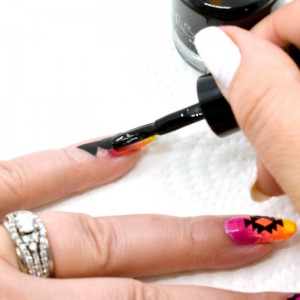
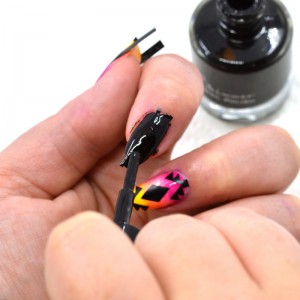
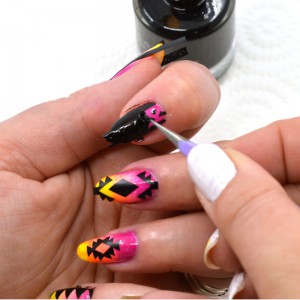
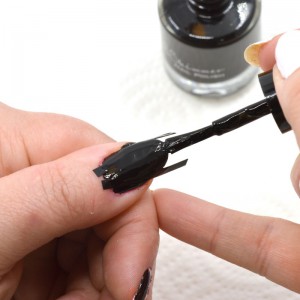
Now is the fun part. Cover the vinyls with 1 coat of your accent color. I love textures, holographic colors, polishes that cover well in one coat and have visual interest. For this tutorial, I am using She Twerks Out. If you want your color only in certain areas, or want different colors between the stripes, use the brush carefully apply polish between the vinyl pieces. Since I am wanting the same color over the whole nail, I don’t worry about “coloring” between the lines.
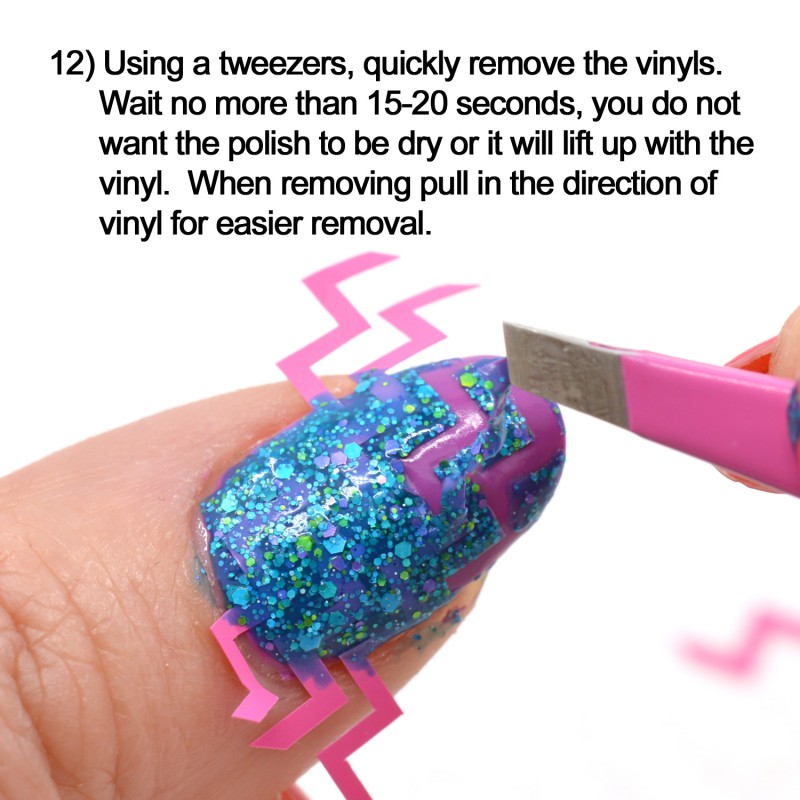
Once your coat of polish is on, you want to start removing the vinyl pieces as soon as possible. If you wait too long, you risk pulling up the accent polish you just applied along with the vinyl pieces. Only paint the accent color one nail at a time to prevent the polish drying before you can get the vinyl removed.
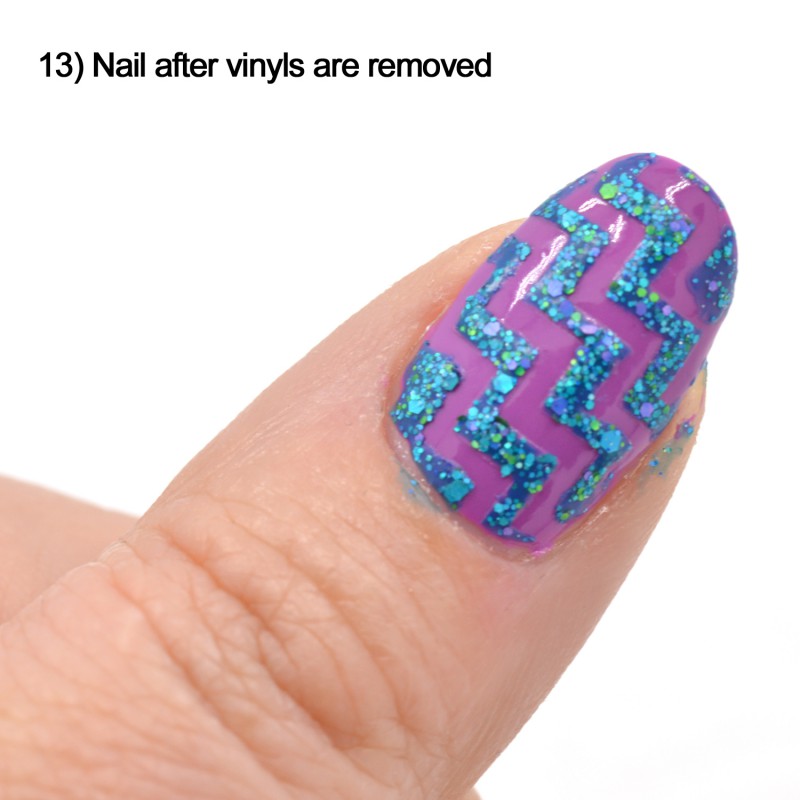
Here is the nail after vinyl decals are removed.
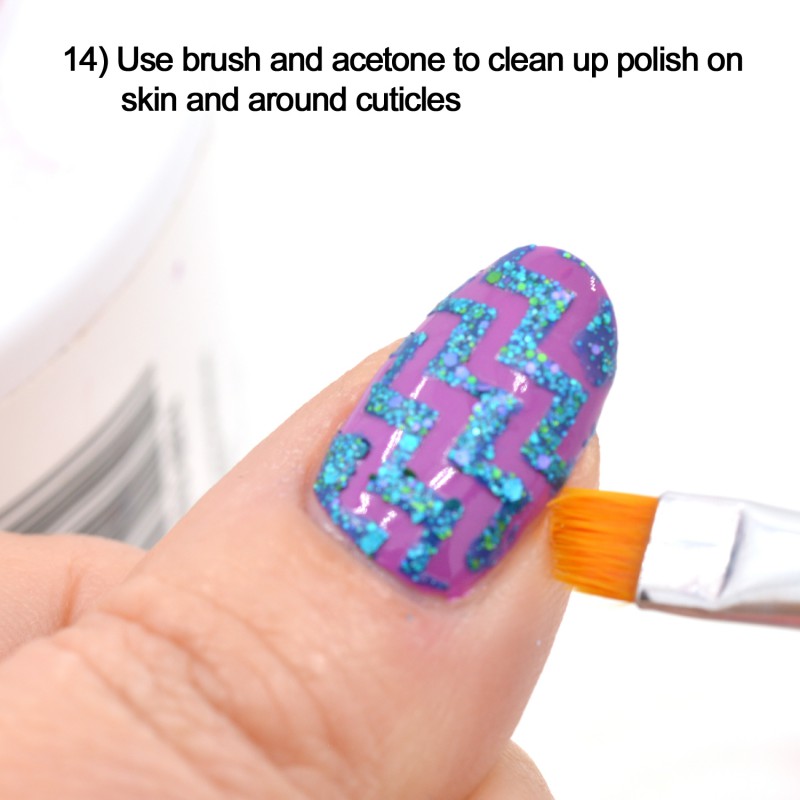
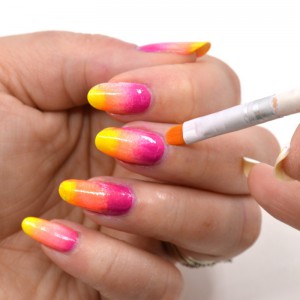
Clean up any polish you got on the skin and cuticle area. If you used a quick dry clear coat before applying vinyl pieces, you can also use the clean up brush dipped in acetone to clean up any polish that may have bled under the vinyl. Lightly dab polish you want to remove with the brush. Repeat if needed, keeping brush damp, but not dripping wet with acetone.
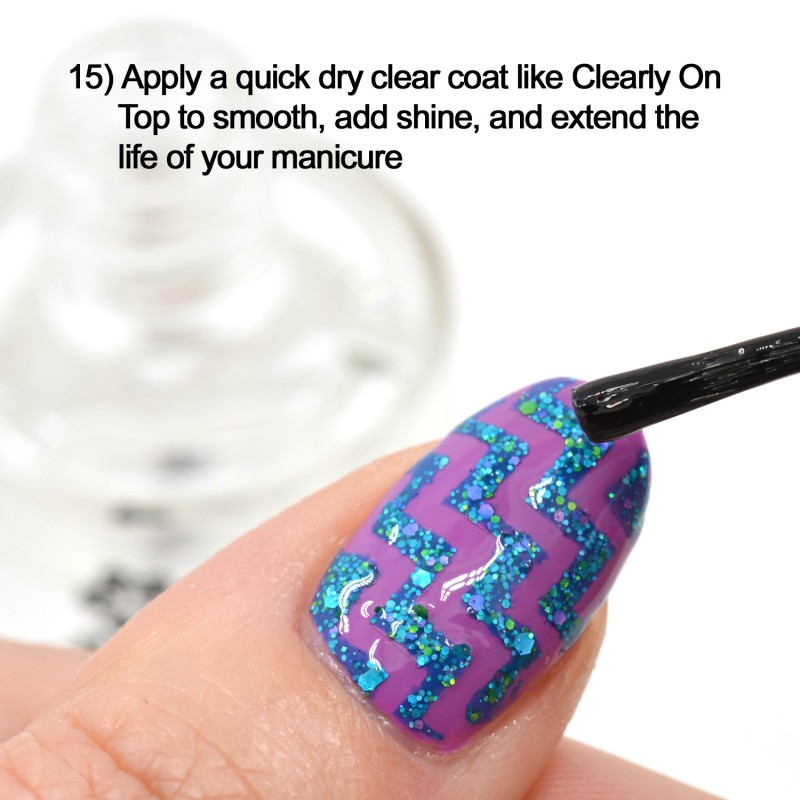
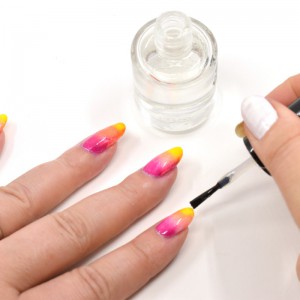
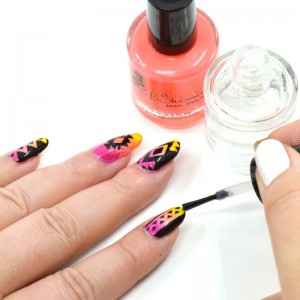
I now follow-up with Clearly On Top to smooth out the manicure, add shine and protect the nails. Make sure to apply top coat to the very tip of the nail to reduce chips.
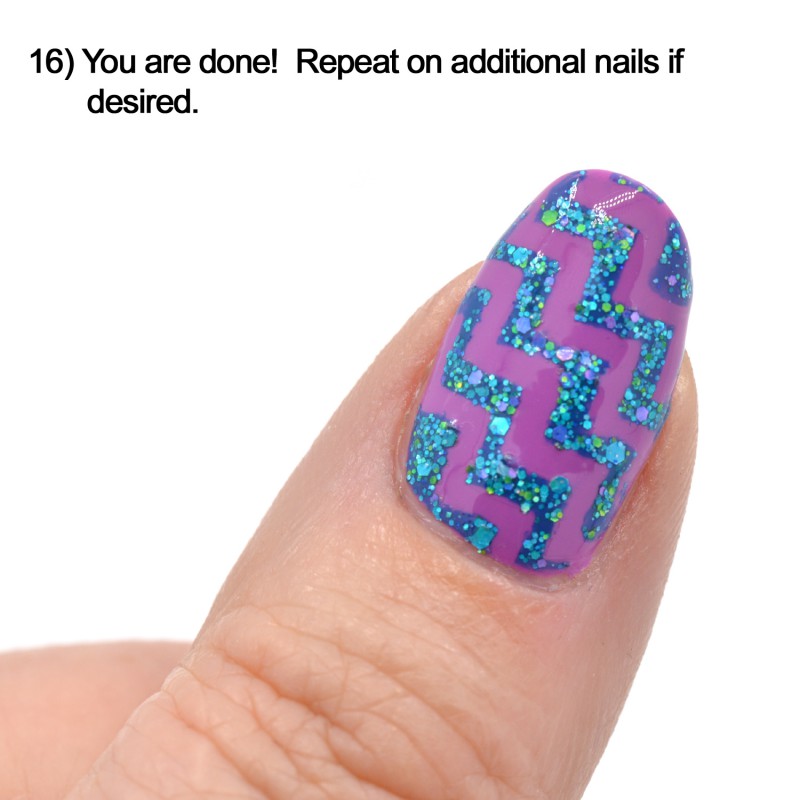
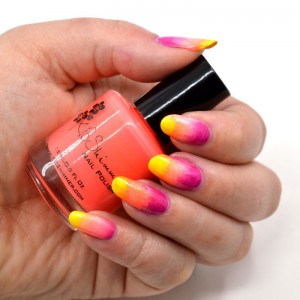
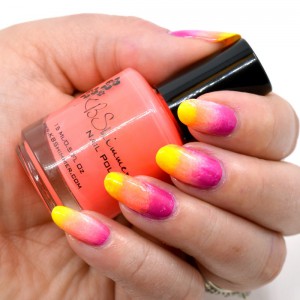
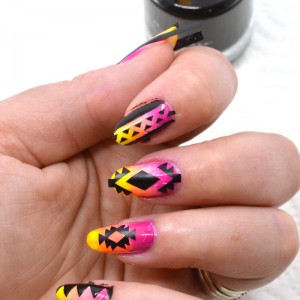
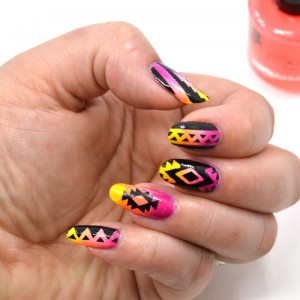
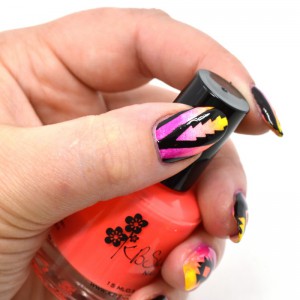
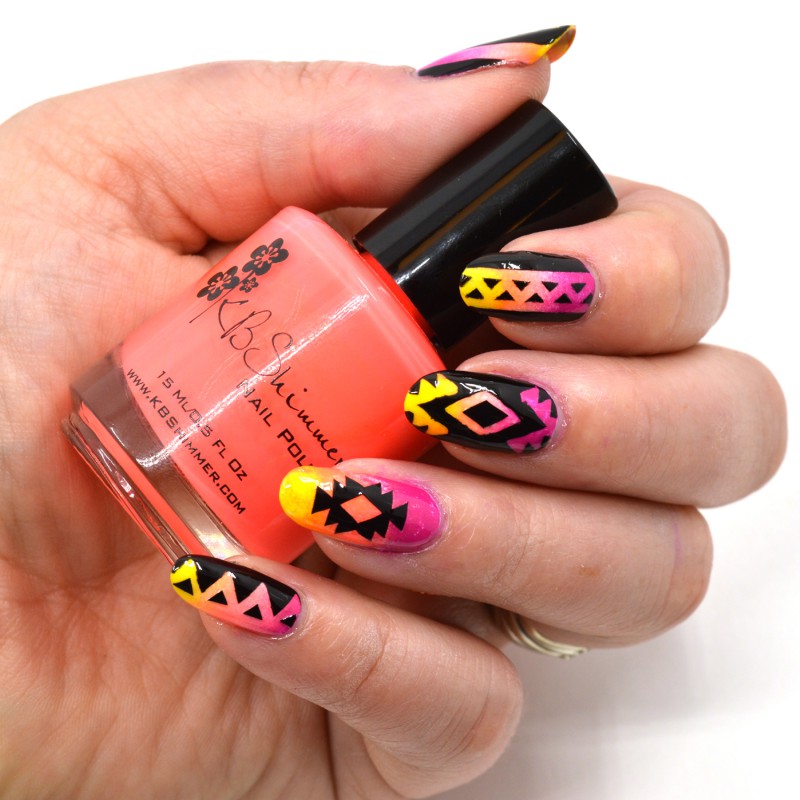
Finished nails!! Repeat on additional nails if desired, or use technique as an accent nail.
We think our new nail vinyl decals are a easy way to add a fun look to manicures. Do you have a manicure using KBShimmer nail vinyl decals and polishes? Send it to us to share on our website and social media outlets. customerservice@kbshimmer.com We would love to see them!

