Tag Archives: accent nail

Mix And Match Manis – Guest Post From Jenny of Lavish Layerings

Hi everyone! This is Jenny from Lavish Layerings and I’m honored to be guest posting for KBShimmer today! I’ve long been a huge fan of their glitter polishes and I have recently been doing a number of nail art looks utilizing their new creme line, which is equally fantastic!How many of you would like to give nail art a try but just don’t have the time? I really enjoy nail art and I often do full blown nail art manis when time permits, but sometimes I cheat a bit. If you only do the nail art on a few nails instead of ALL of your nails, the task doesn’t seem quite as daunting. I have seen more and more ladies on my favorite blogs and on Instagram doing looks like these, and I like to call them Mix and Match Manis or accent nails. There are so many nail art techniques that are very simple, but when incorporated in the right way can add a lot of pizzazz to your manis without a lot of fuss.

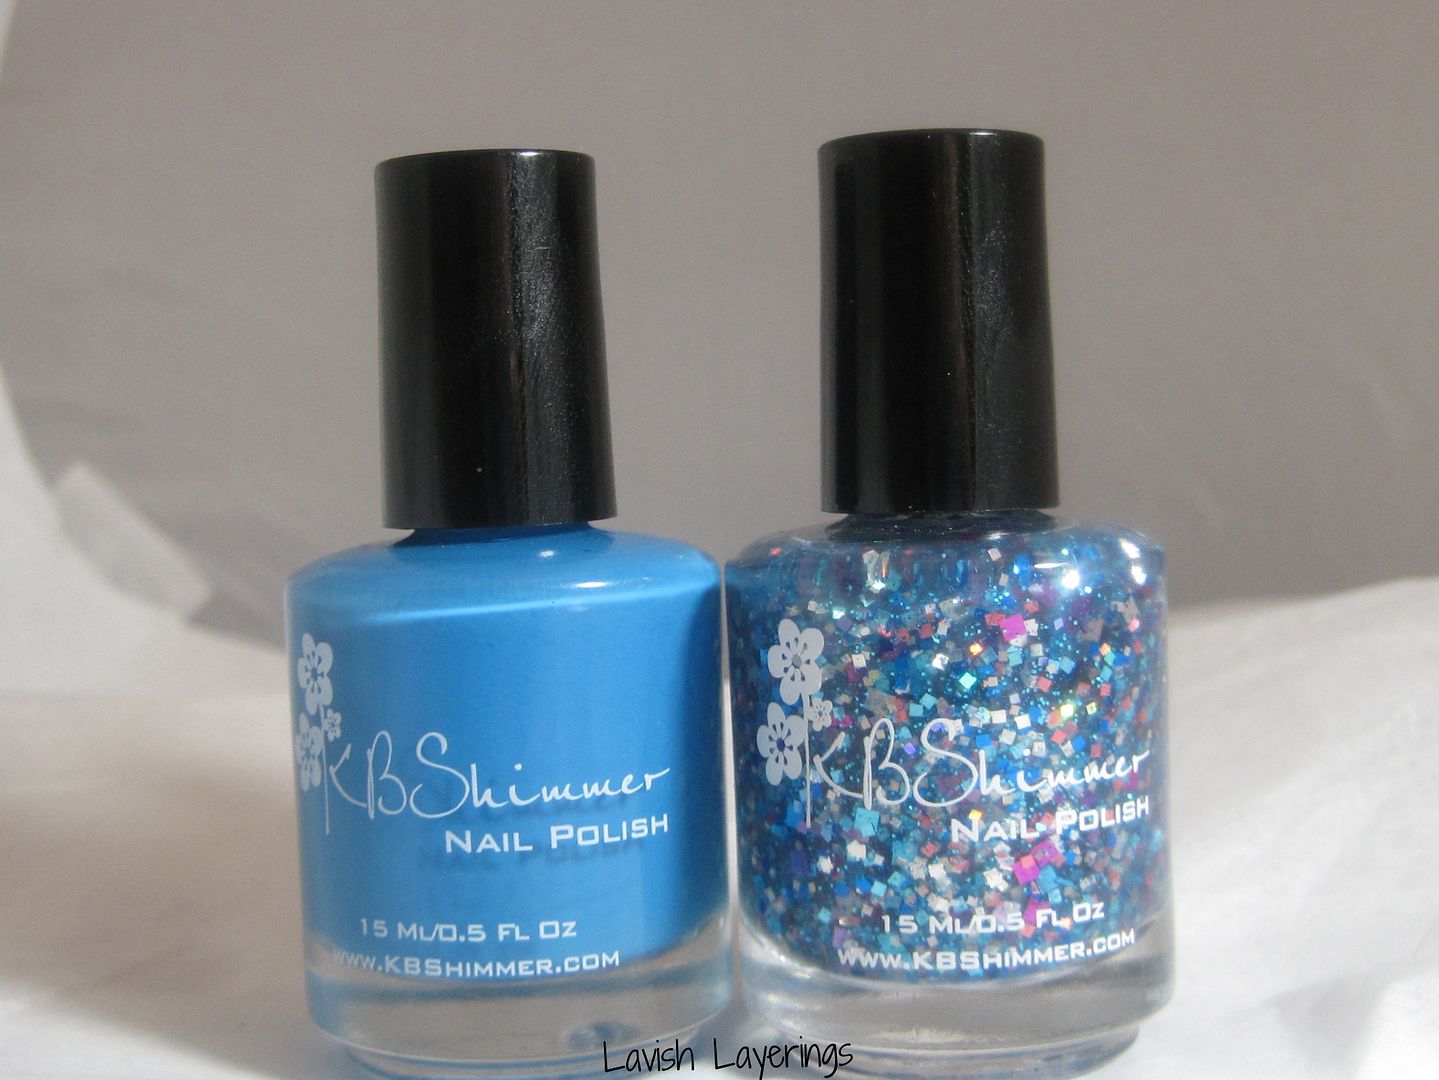
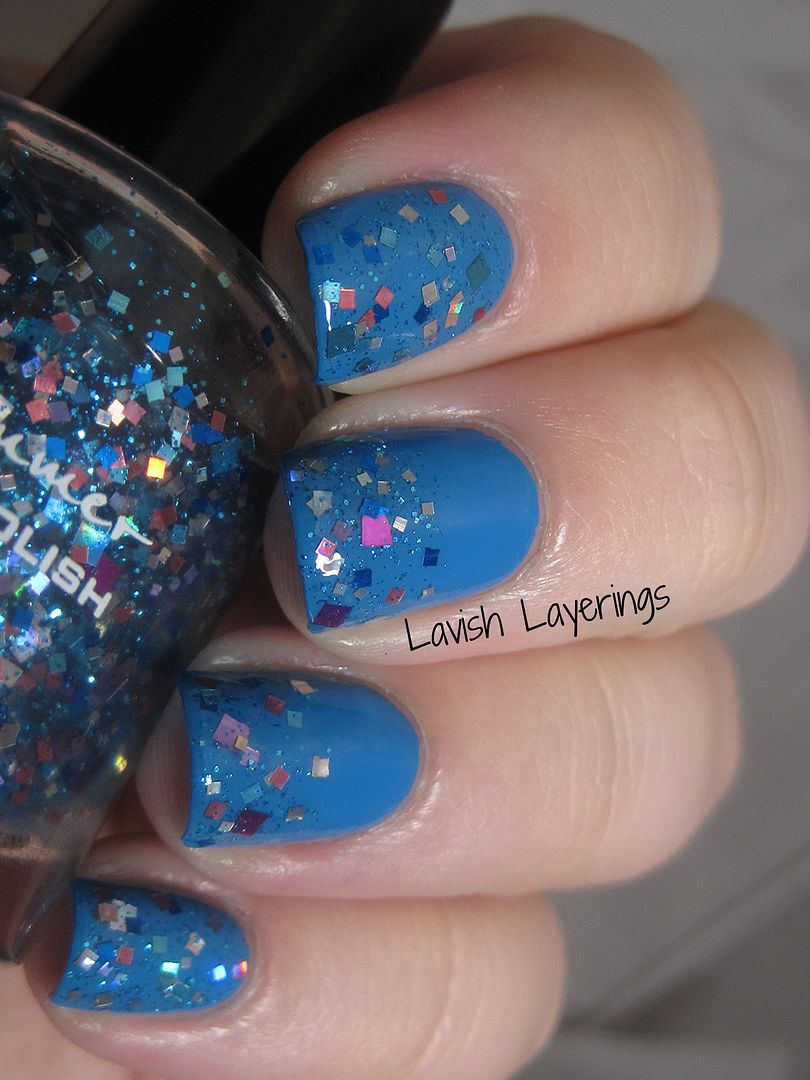
First up, I thought we would start with a simple glitter gradient. I started off with a base of Sky Jinks on all of my nails. I then used 1 coat of Squared Away on all of my nails except the middle two. On the middle and ring finger only, I did a glitter gradient. No special tools needed; just use the brush parallel to the nail to dab on glitter to about halfway down the nail.
Sky Jinks and Squared Away

The trick to a glitter gradient is to wipe off most of the excess polish before you begin dabbing so that you don’t get big clumps of glitter in one spot. If you want, you can even place glitter pieces exactly where you want them using the tip of your brush. Once you get your gradient how you like it, just topcoat and you are done! Now you have a little more interest in what would have been just a normal glitter mani with very little extra effort! Squared Away is discontinued from KBShimmer’s line (I’m sure you can find it on blog sales still), but you can use this technique with any glitter topper. It would look very cool with one of their newer glitter toppers, Rush Flower Traffic.

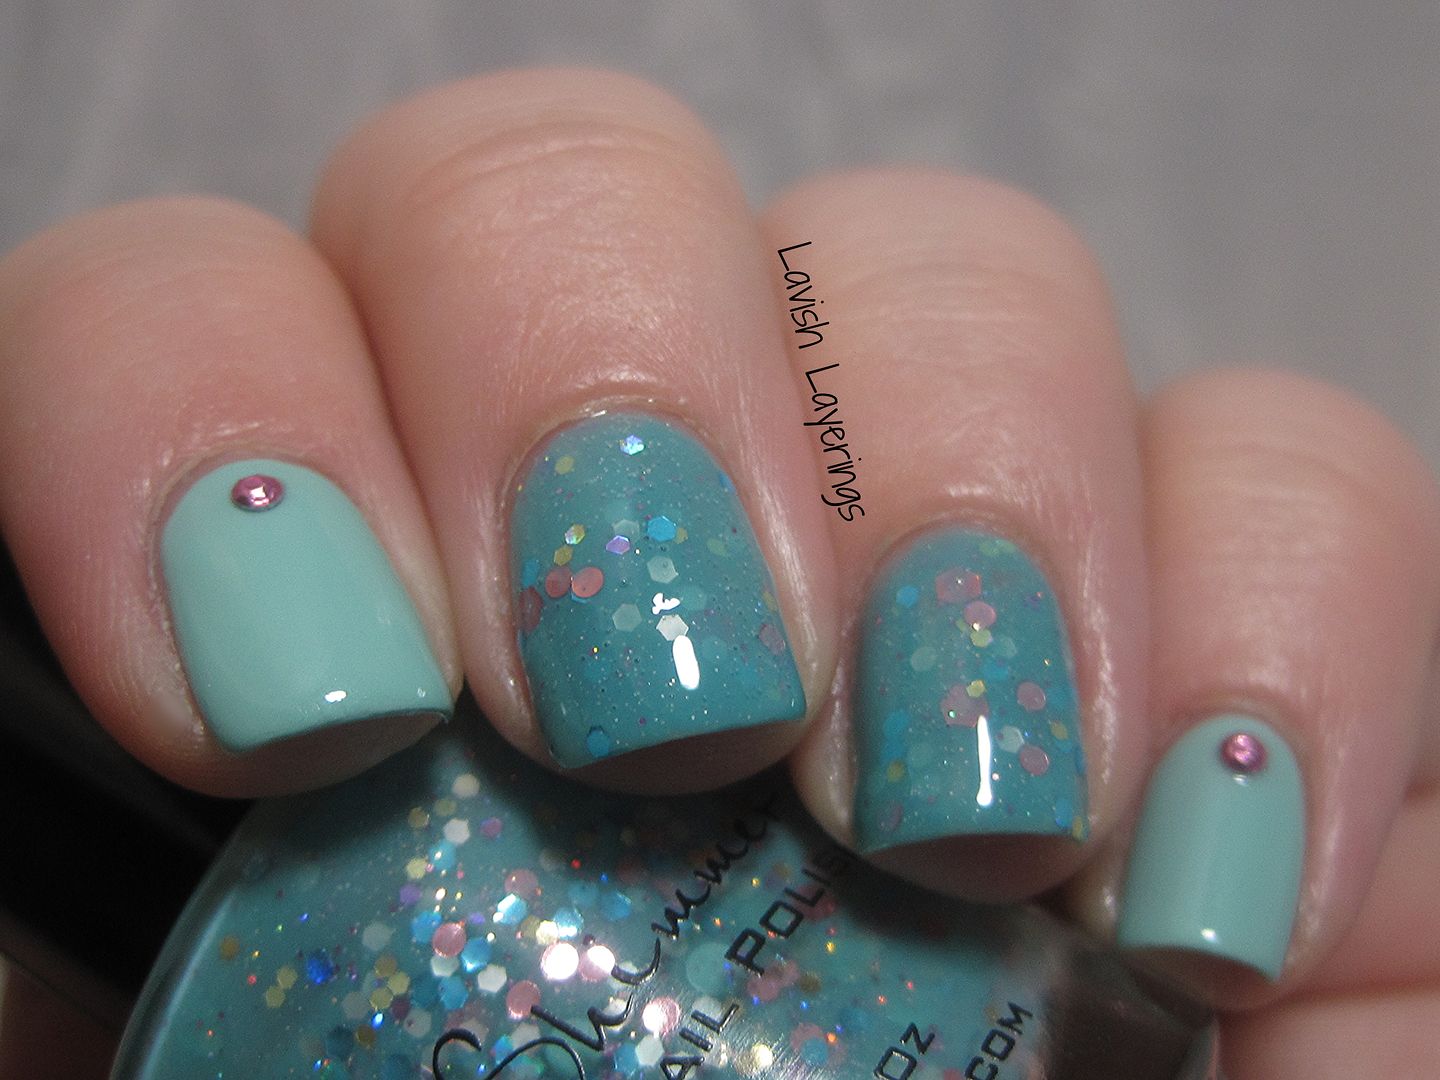
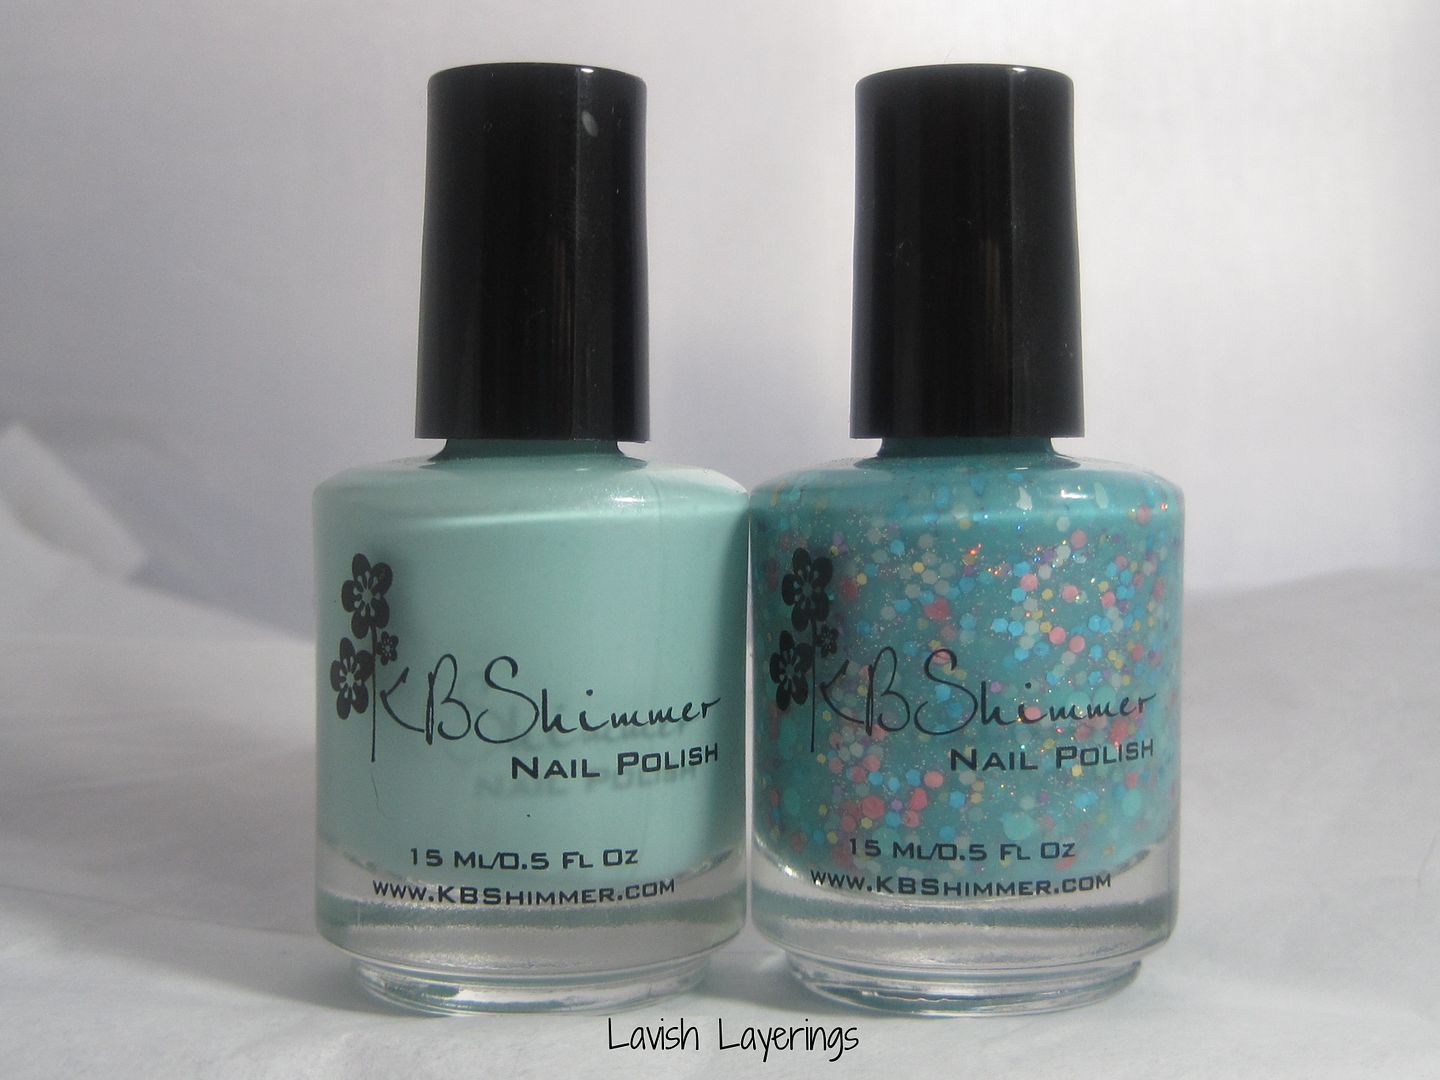
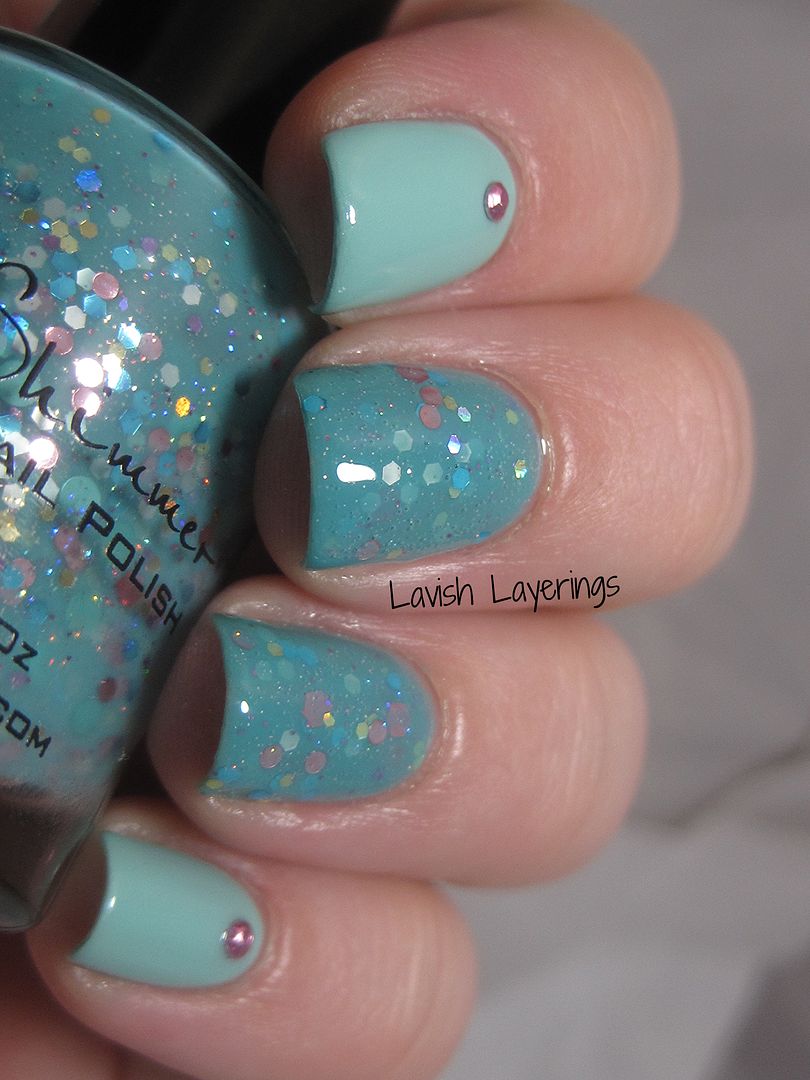
Next I have a mani that I doesn’t really incorporate nail art so much, but it still has some added visual interest. For this mani, I chose two polishes that I thought complimented each other well: A Touch of Glass and Laugh Myself Lily. I used Laugh Myself Lily on the middle two nails and A Touch of Glass on all of  my other nails. After A Touch of Glass had dried completely, I added a single pink stud at the base of each of those nails. Be sure to seal in the studs with topcoat after you apply them (I used 2 coats of topcoat).

A Touch of Glass and Laugh Myself Lily
The contrast of the glitter and creme polishes is really nice and the studs compliment the pink glitters in Laugh Myself Lily to make a really cohesive look. If you don’t have any nail art studs (or don’t like something sticking up off of your nail), you can use pieces of glitter in the place of them or even use a dot of a contrasting polish made with dotting tool/bobby pin to acheive a similar look.

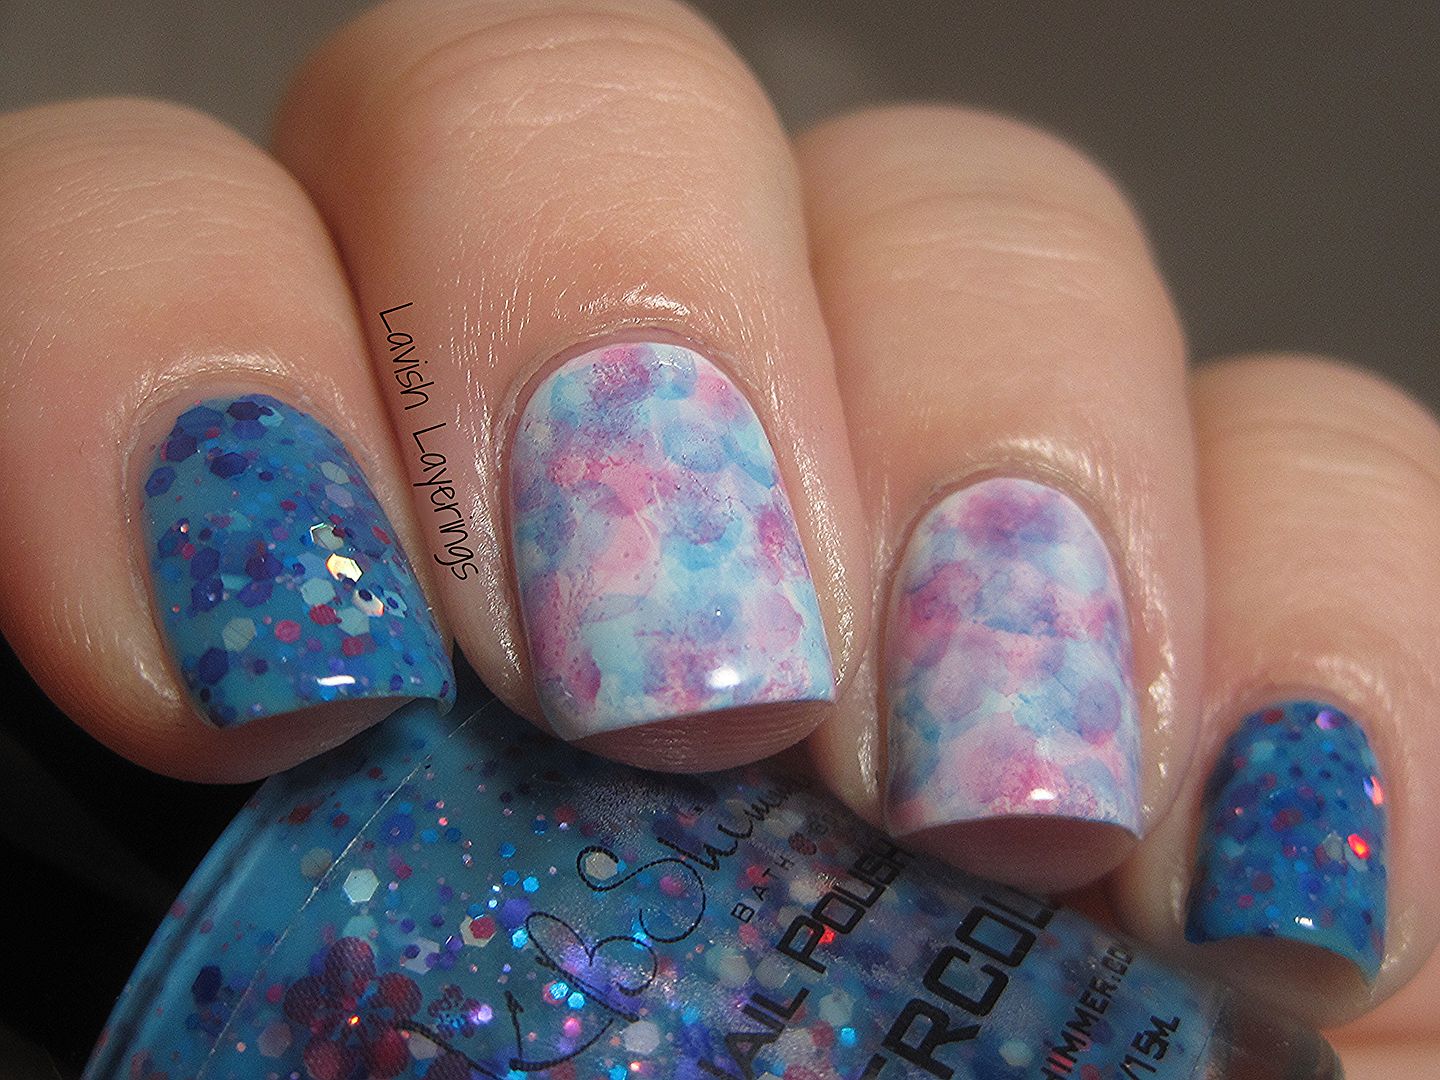
This next look incorporates a nail art technique from The Nailasaurus, a blogger who (to me) is one of the pioneers of the idea of these Mix and Match Manis.  This mani was inspired by Watercolor, which I used on my pointer and pinky nail here. The name and beautiful colors of this polish made me want to incorporate a nail art look that looked like a watercolor painting. I had recently seen The Nailasaurus’s tutorial for Nimbus Nail Art, and thought this technique would be perfect to acheive that effect.

Life Rose On, Watercolor, and Sky Jinks

For this technique, you only need a few creme polishes, acetone, and cotton swabs (Q-Tips). I started off with a white base and then used Life Rose On and Sky Jinks to do the Nimbus effect. Basically, you dab some of your creme polish on a disposable surface (I used a paper plate) and then thin it out with acetone until it is very runny. Then you use a cotton swab to dab random dots all over your nails and then repeat with your other color(s). The Nailasaurus’s tutorial is very thorough, so I will let you refer to that for a full rundown of the technique. I will say that I believe that I thinned my polishes even more than hers and made sure that my cotton swab was completely soaked in acetone so that the effect was very light and ethereal, like a watercolor painting.

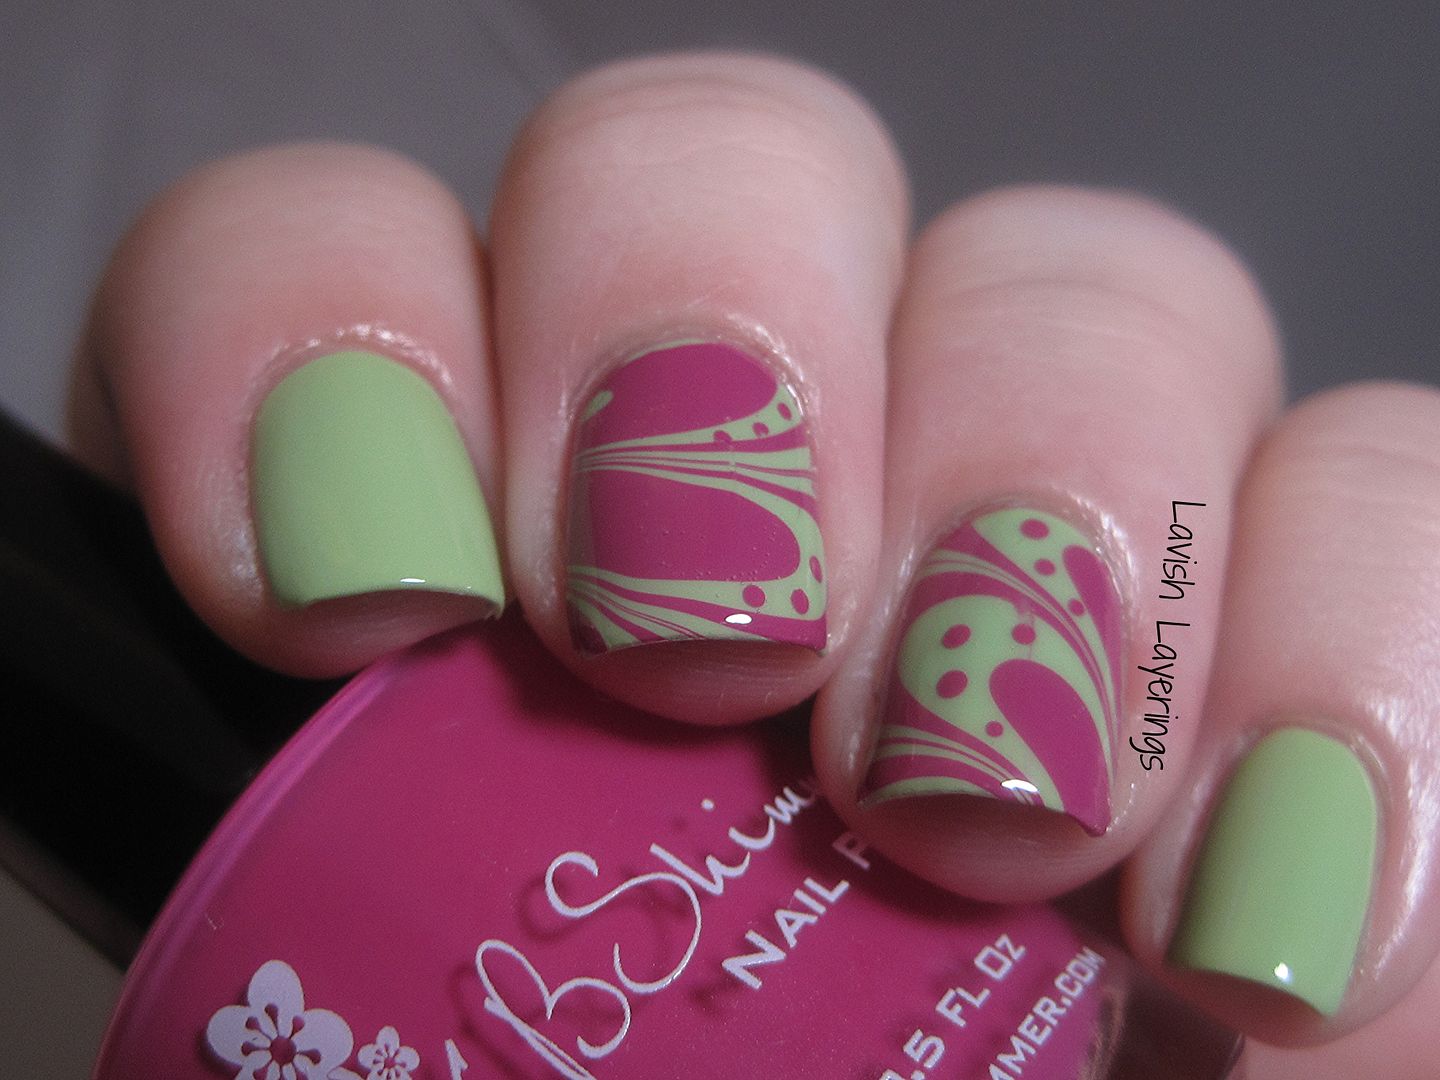
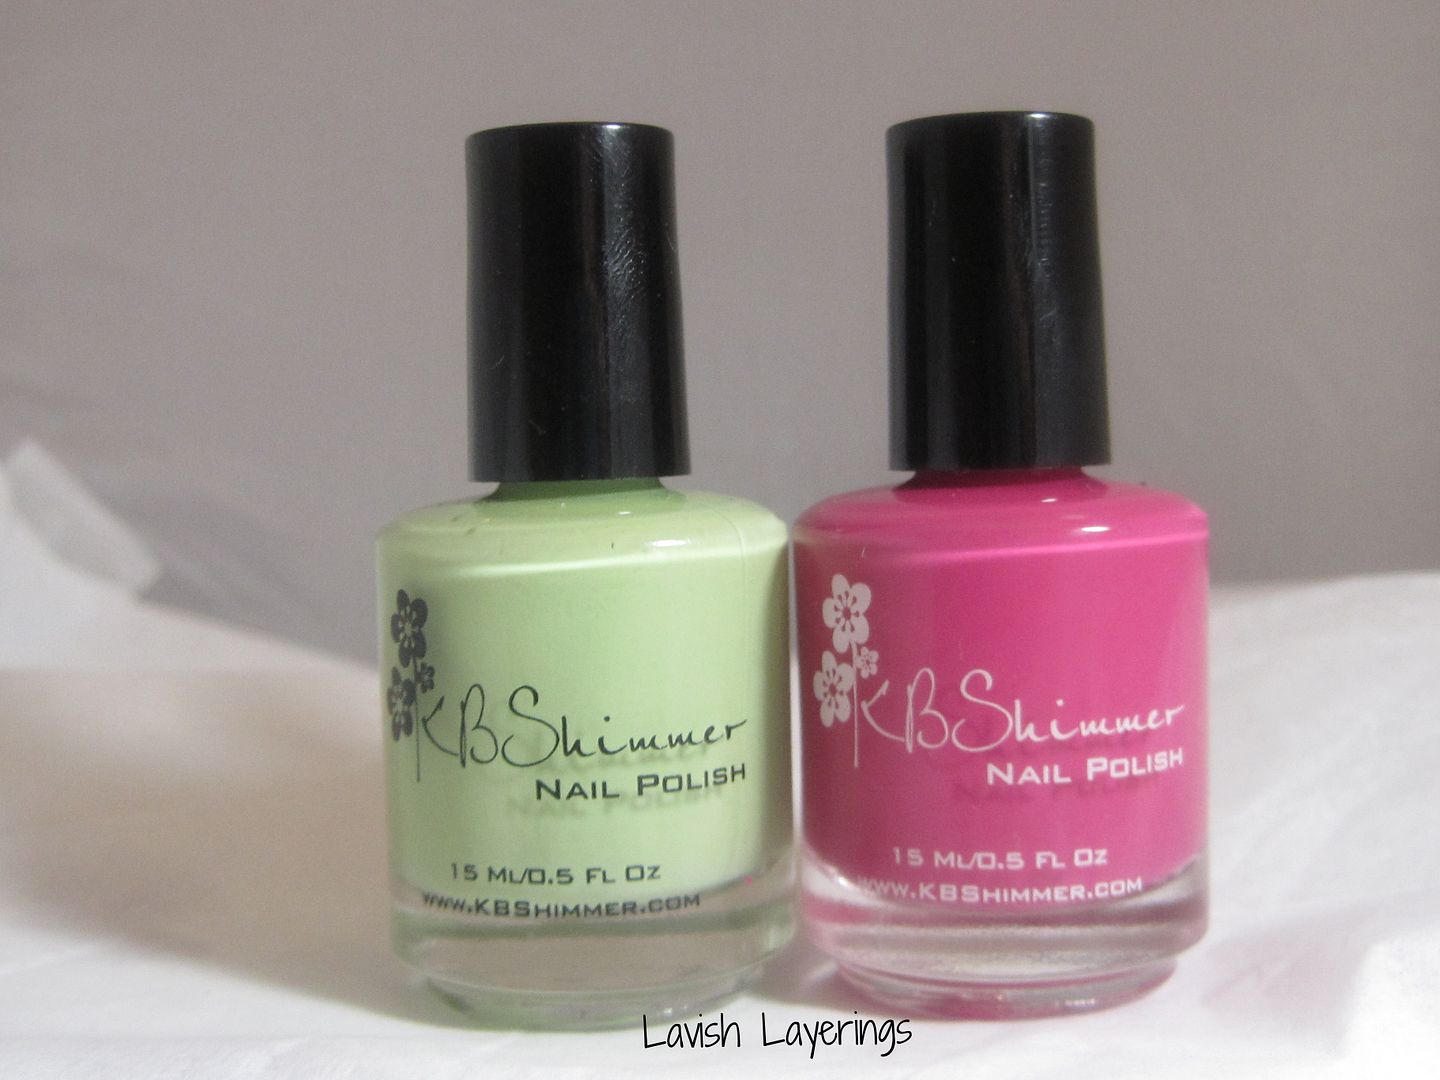
Finally, I have a little more of an advanced technique for you. I know so many people want to give water marbling a try but are hesistant to do it because it is SO time consuming. I good way to get your feet wet is to start out with only doing a few marbled accent nails. For this mani, I used Honeydew List and Life Rose On. I used Honeydew List as my base and then added the marbled accents on my middle nails. After I got done with the marble, I went back in and added a few random dots of Life Rose On with my dotting tool to add a bit more interest.

Honeydew List and Life Rose On

There are a million tutorials for water marbling out there that you can find via Google search, so I will not bore you with yet another one. I will however give you a few tips and tricks that I have learned along the way to help you have a successful water marbling experience.

1) Be sure you are using filtered water (I used bottled water) and not tap water for your marble. If you don’t do this your polish won’t spread properly.
2) Be sure your water is room temperature or even lukewarm to help the polish spread well across the water’s surface.
3) Do not set up your marbling station in front of a fan or vent. The blowing air will cause the polish on the surface of the water to dry too quickly and you won’t be able to create your designs.
4) After you tape off the skin around your nails, brushing a little nail oil on the small bit of skin/cuticle that is between your nail and the tape will really aid in clean-up.
5) After you dip your nail in the water, be sure to completely remove the excess polish off of the surface of the water before bringing your nail back out of the water or it will get on your nail and mess up your design. Just blow on the surface of the water to dry the excess polish (if it is not already dry) and drag an orangewood stick across the surface of the water to collect the dried polish.

I really hope that you all have enjoyed my post! Although it may be a bit basic for you nail art experts out there, I hope it will inspire some of you nail art newbies and those of you who are pressed for time to explore these techniques a bit! Another cool thing about Mix and Match designs is, you don’t have to stop at two different nail designs if you don’t want to! You can take a peek at ChitChatNails to see the history of the Skittlette Mani where you have 3 or more different complementary nails. Basically, the possibilities are endless with this sort of Mix and Match mani.

A special thanks to Christy for allowing me to share with you today! If you want to see more of my nail art designs, be sure to check out my blog, Facebook, and Instagram!

Orange Pop with Tape Stripe Accent Nail

This weekend I am attending a conference and wanted to try some nail art to accent my nail polish.  I have to say that I can not draw, or paint, nor do I have steady hands that would allow me to create nice dots or stripes by hand.  I remembered I saw someone on Pinterest use tape to create stripes and decided to give it a go.  I have to say I am quite pleased with how it turned out.  I took step by step photos to share.

To start, I chose Orange Pop to be my base color.  I used three coats of Orange Pop, and did one coat of top coat on all the nails before applying the “artwork”.  I selected three creams in teal, purple and magenta to compliment the glitters in Orange Pop.  The color of the blue polish is actually more teal in person.

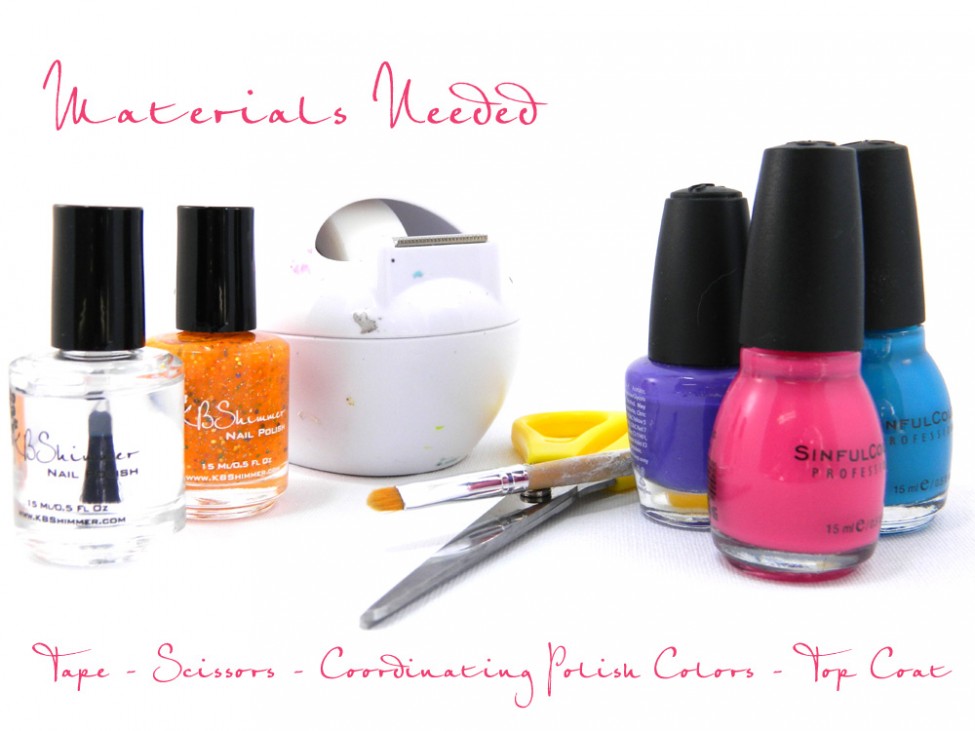
I then gathered my scotch tape, a scissors and top coat.  The tape is my workshop tape, so you can clearly see that it is well loved, and “decorated” with splashes of polish.

MaterialsNeeded

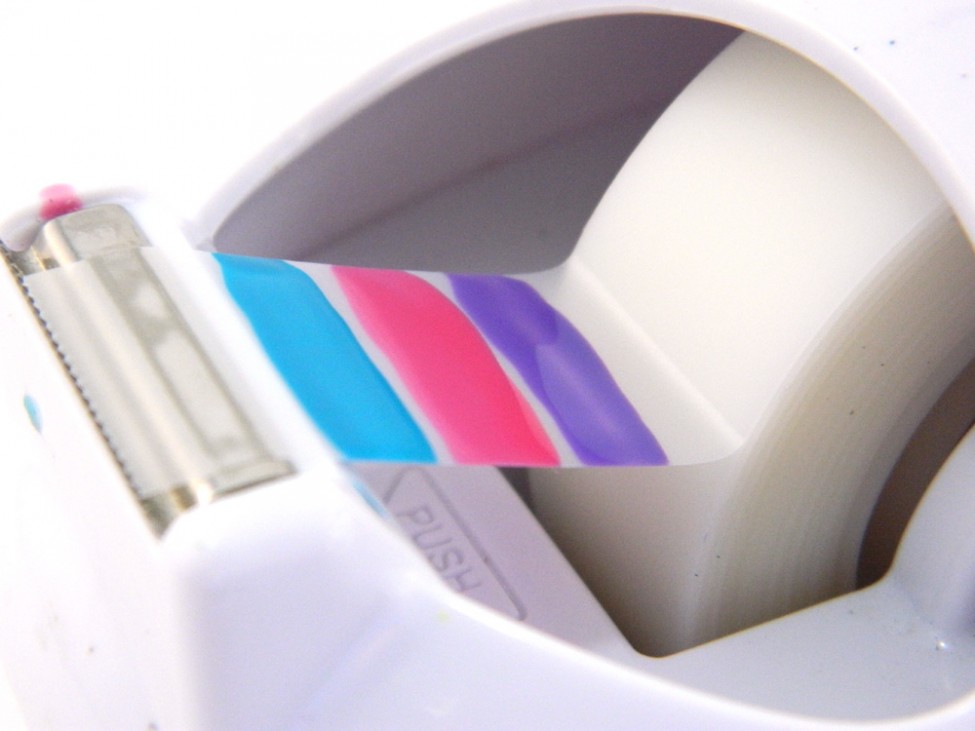
I then painted three stripes onto the tape, without removing it from the holder.  I let the tape dry before removing.  I chose polishes that covered well in one coat, but you could add a second if needed.

PaintColorsOnTape

When dry, remove from holder.  I cut close to the last color so the tape was not so long it folded back onto itself.

RemoveTape

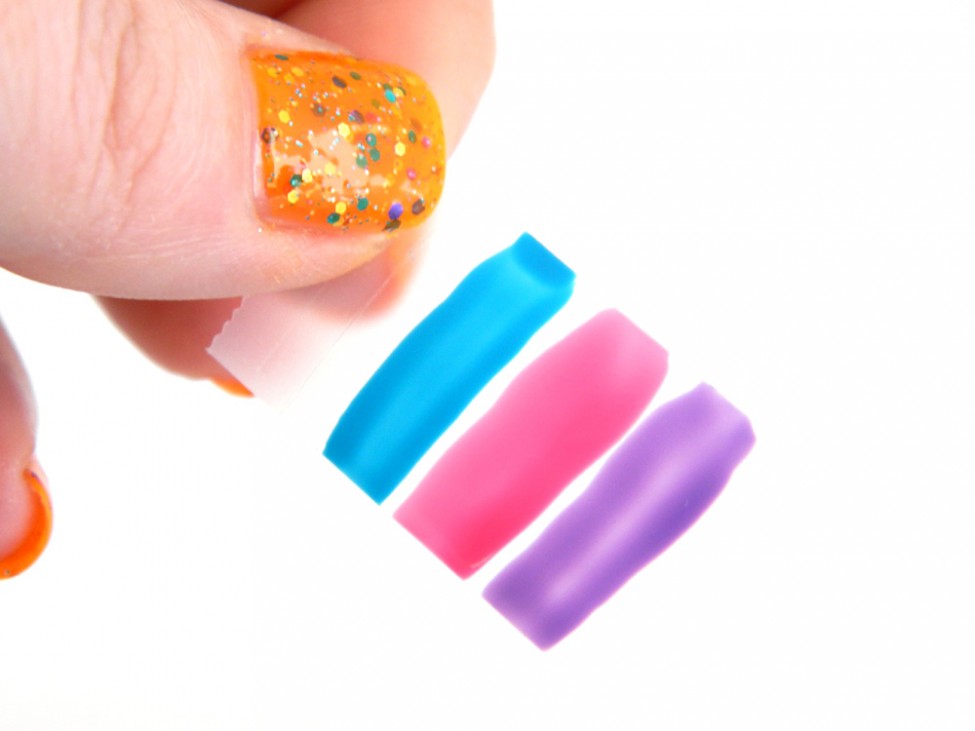
Then using your scissors, cut a strip of the first color.   I cut my strip to be 1mm wide.

CutIntoStrips

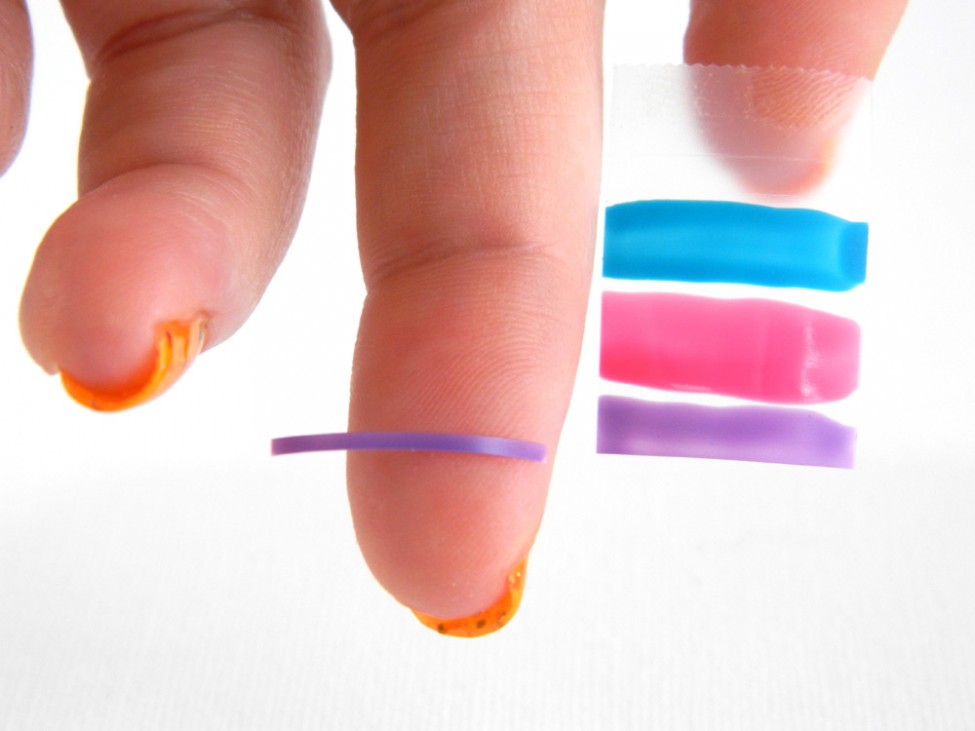
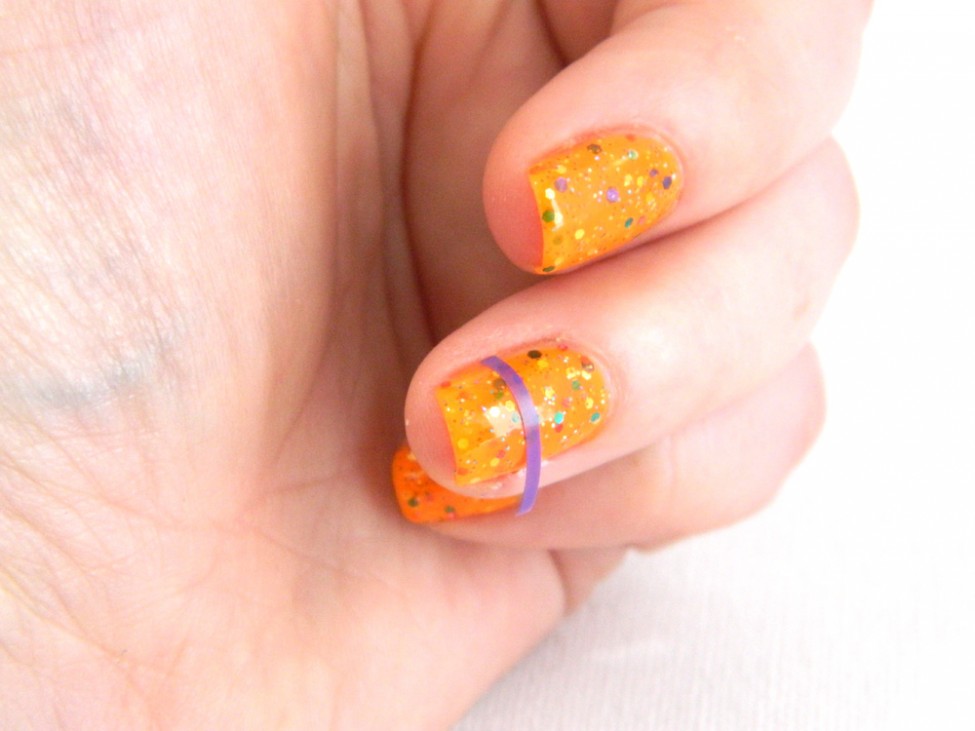
With the painted side up, sticky side down, stick the stripe onto your nail.   I stick the strip so that one edge lined up with the edge of my nail.  Do not press the longer edge down.

PurpleTape

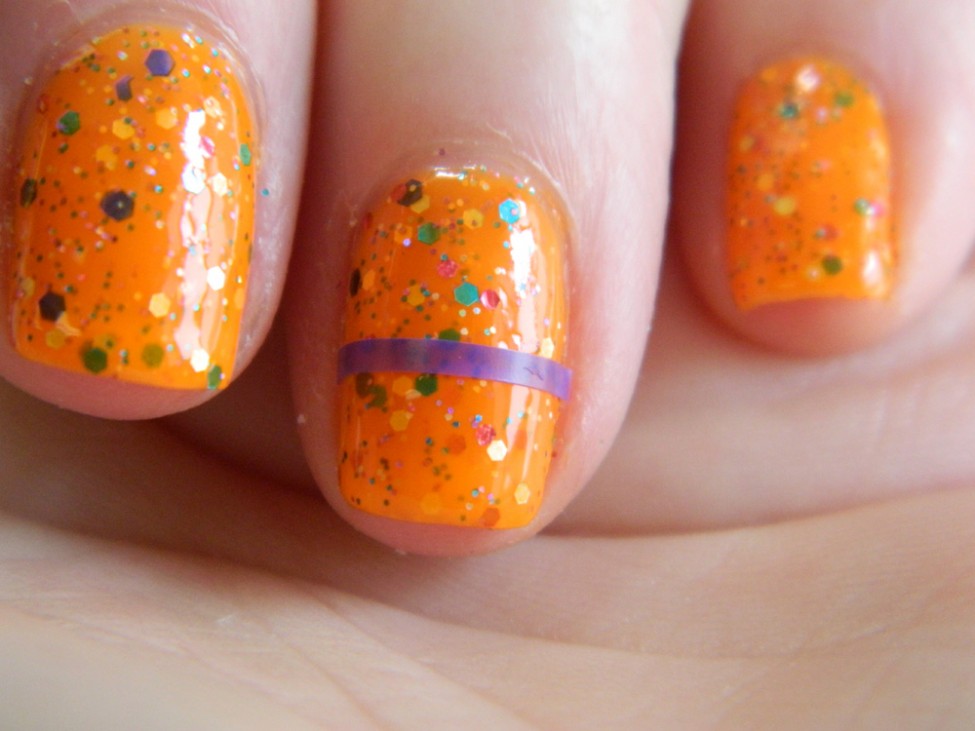
Using your scissors, trim the long edge of the stripe to fit your nail.  It might be easier if you have cuticle scissors, but regular ones worked fine.  After trimming, press the rest of the stripe down.  Looking at the micro shot, you can see some of the glitters through the stripe, but you can not see that at a normal distance.

PurpleStripOn

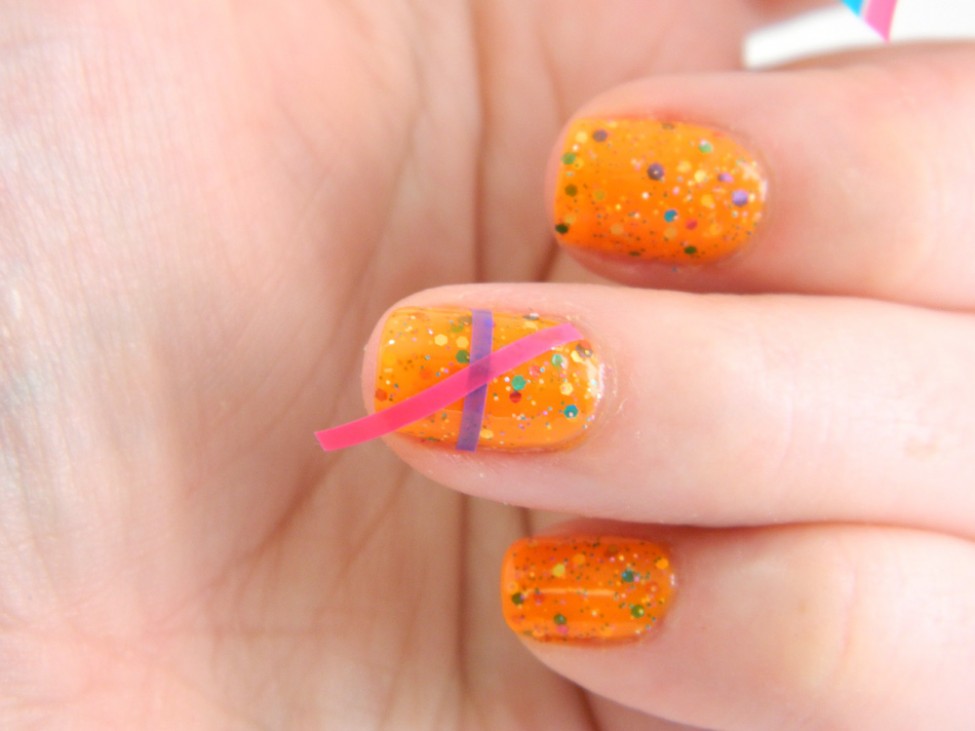
 I then moved on to the pink, cutting a stripe from the tape.  I placed it on my nail at an angle so that it crossed over the purple stripe.

PinkStripOnNail

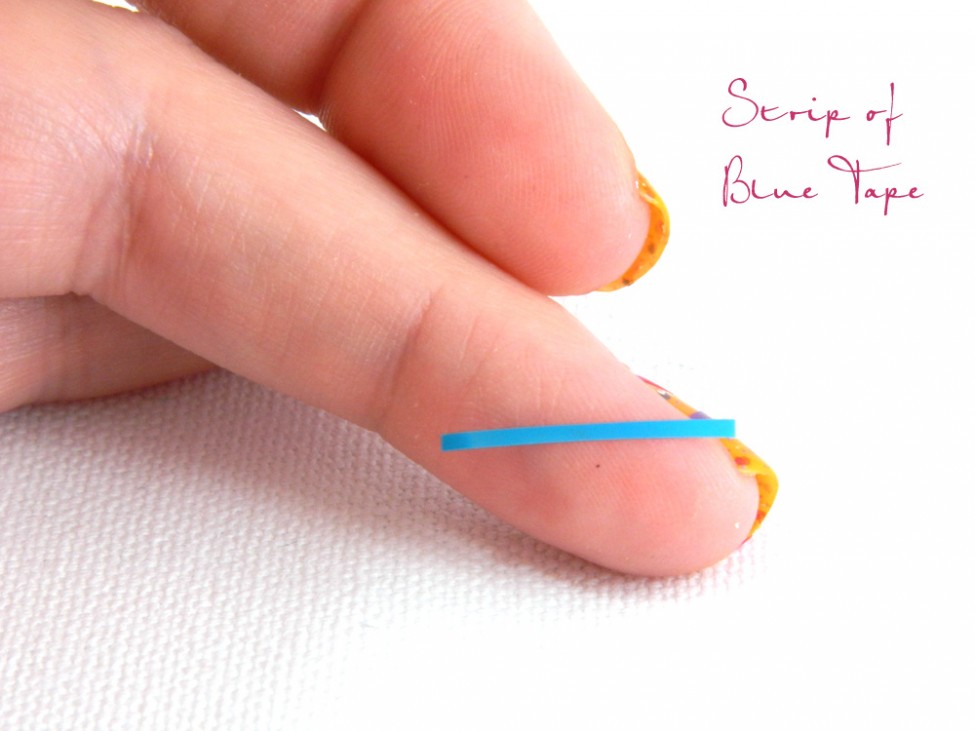
Again, trim down the strip and press down so it sticks to your nail.  Move on and cut the last strip, using the blue color.

BLueTape1

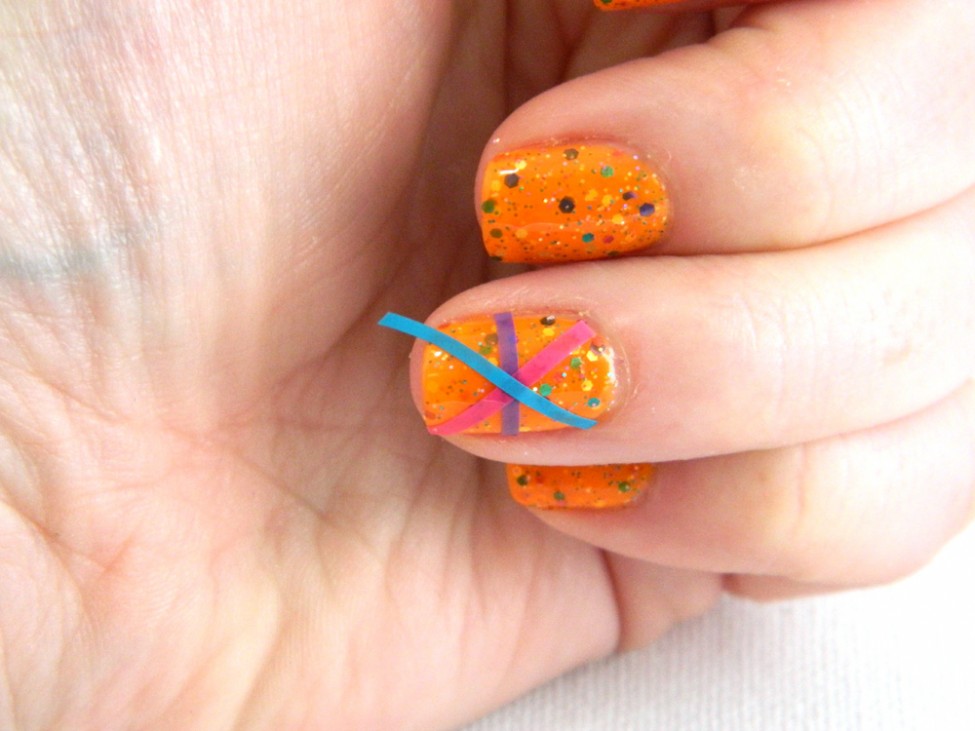
I then stuck the blue to the nail, going across the opposite direction of the pink, so that the stripes form a asterisk.

BlueStrip

Again, use the scissors and trim off the excess.

CuttingOffExcessTape

When complete.  Press down tape, ensuring all edges are secure on the nail.  Then cover with at least one coat of top coat to seal.  I did two coats to ensure it was smooth.

And here is the finished look!

Done

Not bad for having no art skills at all.  Next time I would probably do a second coat on the tape so the polish was a bit more vivid.  I think the pink blends in a bit too much.  There was plenty of painted tape left over, so repeating on the other hand would not be an issue.  I could also see myself using punches to create shapes from painted tape.  Maybe a scalloped nail edge or flowers.  I have to give props to all those out there that can create murals and designs freehand.  If you have any you created using KBShimmer polish, or with KBShimmer polish as a base, send it to CustomerService@KBShimmer.com.  I would love to share them on here!

Christy